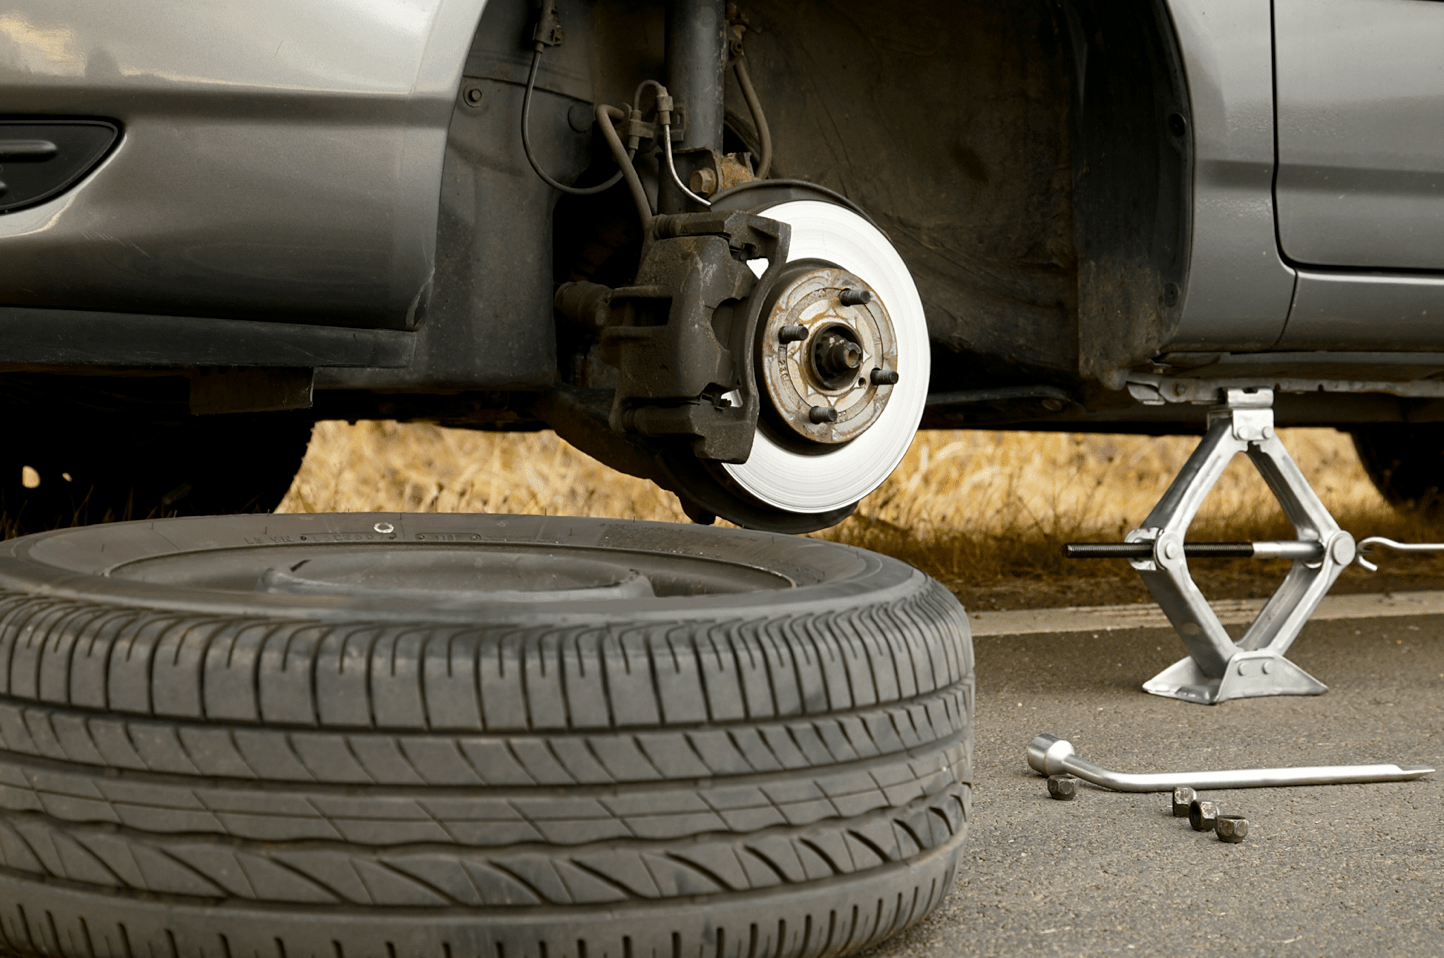
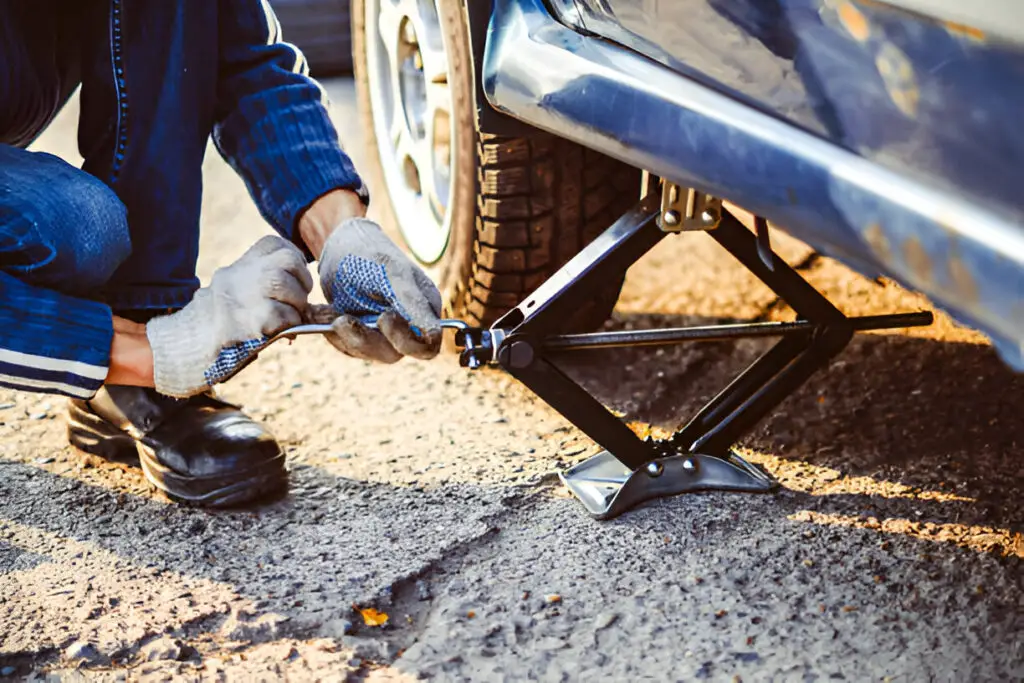
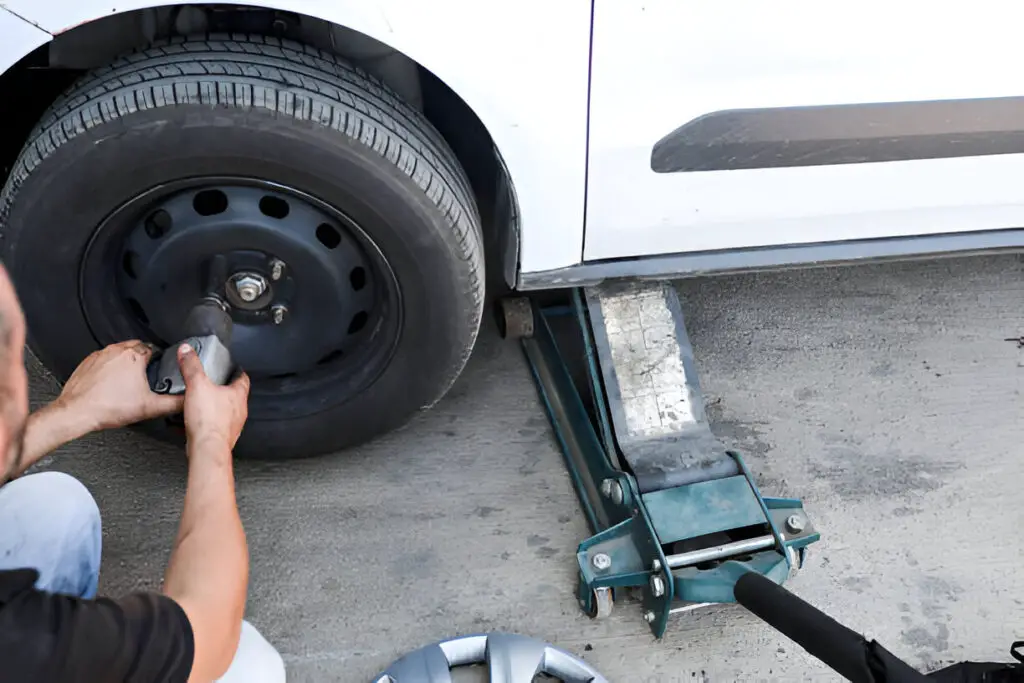
To change a tire, first, locate the jack and spare tire in your vehicle. Then, use the jack to raise the vehicle off the ground and remove the lug nuts using a wrench.
Whether you’re a seasoned driver or just getting started on the road, knowing how to change a tire is an essential skill. Getting a flat tire is one of the most common car issues and being stranded without the knowledge or tools to fix it can be stressful. Fortunately, changing a tire is a relatively straightforward process that anyone can do with the right guidance.
This comprehensive guide will walk you through the process step by step, covering the necessary tools, safety precautions, and techniques to ensure you can change a tire safely and efficiently.

Credit: narpro.com
Contents
- 1 Why It’s Important to Know How to Change a Tire
- 2 How to Change a Tire
- 2.1 Step-by-Step Guide to Changing a Tire
- 2.1.1 Step 1: Find a Safe Location
- 2.1.2 Step 2: Prepare Your Vehicle
- 2.1.3 Step 3: Loosen the Lug Nuts
- 2.1.4 Step 4: Jack Up the Vehicle
- 2.1.5 Step 5: Remove the Flat Tire
- 2.1.6 Step 6: Install the Spare Tire
- 2.1.7 Step 7: Lower the Vehicle
- 2.1.8 Step 8: Tighten the Lug Nuts
- 2.1.9 Step 9: Fully Lower the Vehicle
- 2.1.10 Step 10: Store the Tools and Flat Tire
- 2.1.11 Step 11: Check the Spare Tire Pressure
- 2.1 Step-by-Step Guide to Changing a Tire
- 3 Temporary Spare Tire Considerations
- 4 Frequently Asked Questions
- 5 Conclusion
Why It’s Important to Know How to Change a Tire
Flat tires can happen anytime, anywhere, whether you’re on a highway, a city street, or a rural road. While roadside assistance services are helpful, they can take time to arrive, leaving you stranded. Knowing how to change a tire can save you time and prevent potentially dangerous situations, especially if you are in a remote location or heavy traffic.
In addition to saving time, changing a tire yourself can save money, as it eliminates the need for professional services. Having the confidence to perform this task yourself gives you more independence and peace of mind on the road.
How to Change a Tire
Before attempting to change a tire, it’s important to ensure you have the necessary tools. Most vehicles come equipped with basic tire-changing tools, but it’s a good idea to familiarize yourself with these and confirm they are in good working condition. Here’s what you’ll need:
- Spare Tire: Ensure the spare tire is properly inflated and in good condition. Most cars have a spare tire located under the trunk floor or mounted under the vehicle.
- Car Jack: A car jack is used to lift the vehicle off the ground, allowing you to remove the flat tire and install the spare.
- Lug Wrench: This tool is used to loosen and tighten the lug nuts that hold the wheel in place. It often has a cross or L-shaped design.
- Owner’s Manual: Your vehicle’s manual will provide specific instructions for using the jack and spare tire, along with details about the tire pressure and placement of the jack.
- Wheel Wedges (Optional but Recommended): These help to prevent the car from rolling while you’re changing the tire. You can use bricks or large stones in a pinch.
- Flashlight (Optional): Useful if you need to change a tire in the dark.
- Gloves and a Mat (Optional): To keep your hands clean and protect your knees from dirt or rough surfaces.

Step-by-Step Guide to Changing a Tire
Here’s a detailed Step-by-Step Guide to Changing a Tire:
Step 1: Find a Safe Location
When you realize you have a flat tire, the first step is to find a safe location to pull over. If possible, choose a flat, level area away from traffic. Avoid soft ground or uneven surfaces, as they can cause the jack to sink or tip. If you’re on a busy road, pull as far off the shoulder as you can and turn on your hazard lights to alert other drivers.
Safety Tip: Use wheel wedges or large stones to block the tires on the opposite side of the flat tire to prevent the car from rolling.
Step 2: Prepare Your Vehicle
Before starting the tire change, take the following precautions:
- Engage the parking brake to prevent the vehicle from rolling.
- Place wheel wedges (or stones) behind the wheels on the opposite side of the flat tire for added stability.
- Retrieve all the necessary tools (jack, lug wrench, spare tire) from your trunk.
Step 3: Loosen the Lug Nuts
Using your lug wrench, loosen the lug nuts on the flat tire. Turn them counterclockwise, but don’t remove them entirely yet. Loosening the lug nuts before lifting the car off the ground will make it easier to remove them later without the wheel spinning.
Safety Tip: If the lug nuts are too tight, you may need to use your body weight to push down on the lug wrench for added leverage.
Step 4: Jack Up the Vehicle
Refer to your owner’s manual for the proper placement of the jack. Most cars have reinforced metal areas along the frame where the jack should be positioned to prevent damage to the vehicle. Once the jack is in place, crank it up until the flat tire is about six inches off the ground.
Safety Tip: Never place any part of your body under the vehicle while it’s supported by the jack alone.
Step 5: Remove the Flat Tire
With the vehicle lifted, finish unscrewing and removing the lug nuts. Keep them in a safe place so they don’t roll away. Carefully remove the flat tire by pulling it straight toward you. Place it flat on the ground nearby to avoid it rolling away.
Step 6: Install the Spare Tire
Lift the spare tire and align it with the lug bolts. Push the tire onto the hub until it’s seated securely against the brake drum or rotor. Once the spare is in place, hand-tighten the lug nuts as much as possible.
Step 7: Lower the Vehicle
Use the jack to slowly lower the vehicle back to the ground, but don’t fully lower it yet. Keep enough weight off the tire so you can tighten the lug nuts securely.
Step 8: Tighten the Lug Nuts
With the vehicle still slightly elevated, use the lug wrench to fully tighten the lug nuts. Work in a crisscross or star pattern to ensure even pressure and prevent the wheel from wobbling. Tighten each nut as much as possible.
Step 9: Fully Lower the Vehicle
Once the lug nuts are tight, fully lower the vehicle to the ground and remove the jack. Double-check the lug nuts to ensure they are still tight after the car is resting on the ground.
Step 10: Store the Tools and Flat Tire
Put the jack, lug wrench, and any other tools back in their proper storage areas. Place the flat tire in your trunk or the spare tire compartment. Make sure nothing is left behind before getting back on the road.
Step 11: Check the Spare Tire Pressure
Before driving off, it’s crucial to check the spare tire’s pressure. Your vehicle’s manual or the sidewall of the tire will provide the recommended tire pressure. If possible, use a tire pressure gauge to ensure it’s properly inflated. If the tire is underinflated, drive carefully to the nearest service station to inflate it.

Temporary Spare Tire Considerations
Most vehicles come with a temporary spare tire, commonly known as a “donut” tire. These spares are smaller and designed for short-term use, usually up to 50 miles and at speeds under 50 mph. Be sure to drive cautiously and replace the spare with a full-size tire as soon as possible.
Frequently Asked Questions
Here are some FAQs about changing a tire –
1. How long can I drive on a spare tire?
Spare tires, especially donut spares, are designed for temporary use. They are generally safe for driving up to 50 miles at speeds of 50 mph or lower. Full-size spare tires, on the other hand, can be used for longer distances but should still be replaced as soon as possible.
2. What should I do if I can’t loosen the lug nuts?
If the lug nuts are too tight to loosen by hand, try stepping on the lug wrench for extra leverage. Be cautious not to strip the nuts. If you still can’t remove them, it might be necessary to call for roadside assistance or use a tool like a breaker bar.
3. Is it safe to change a tire on the side of a highway?
While it’s possible to change a tire on the side of the highway, it can be dangerous due to passing traffic. If you find yourself in this situation, pull as far off the road as possible, turn on your hazard lights, and use wheel wedges to secure the vehicle. If the situation feels unsafe, it’s better to call for professional roadside assistance.
4. Can I reuse my flat tire if it’s just a small puncture?
In many cases, a flat tire caused by a small puncture (like from a nail) can be repaired rather than replaced. Tire repair shops can often patch punctures in the tread area, but sidewall damage generally requires a tire replacement.
5. What if I don’t have a spare tire?
Some newer vehicles come with tire repair kits or run-flat tires instead of spare tires. A tire repair kit can temporarily seal small punctures, allowing you to drive to the nearest service station for a proper repair. Run-flat tires can still be driven on even when punctured, though they typically only last for about 50 miles before needing replacement.
Conclusion
Learning how to change a tire is an essential skill that can save you time, money, and stress when faced with a flat tire. With the right tools and knowledge, you can handle the task quickly and confidently, ensuring you get back on the road safely.
Always remember to check your spare tire’s condition periodically and ensure you have all the necessary tools in your vehicle. Whether you’re on a busy highway or a remote road, knowing how to change a tire can make a world of difference in your driving experience.