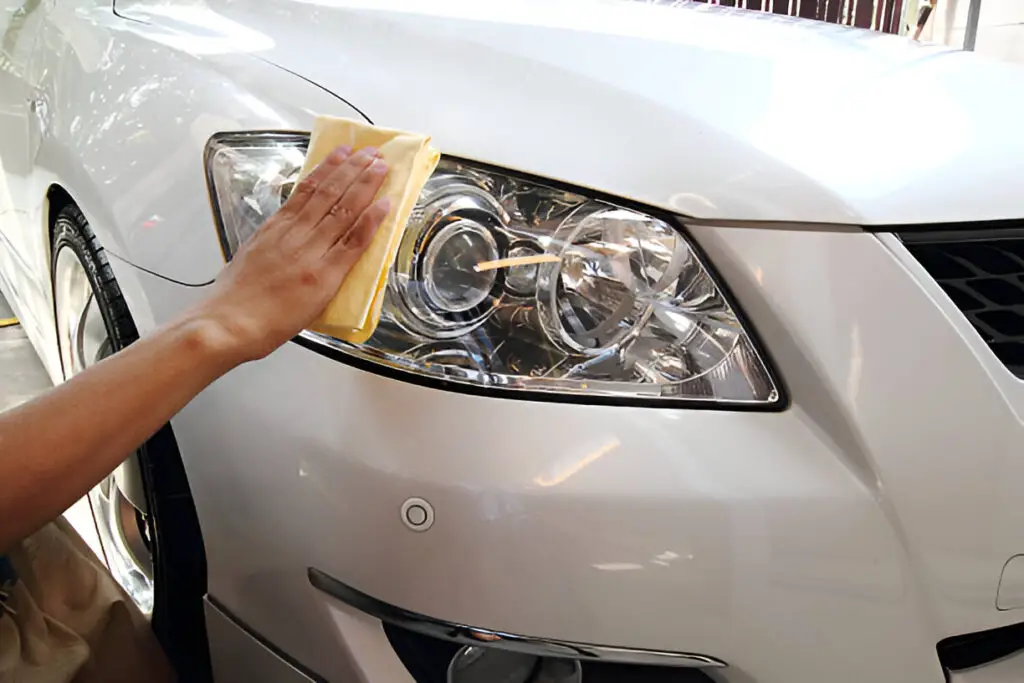
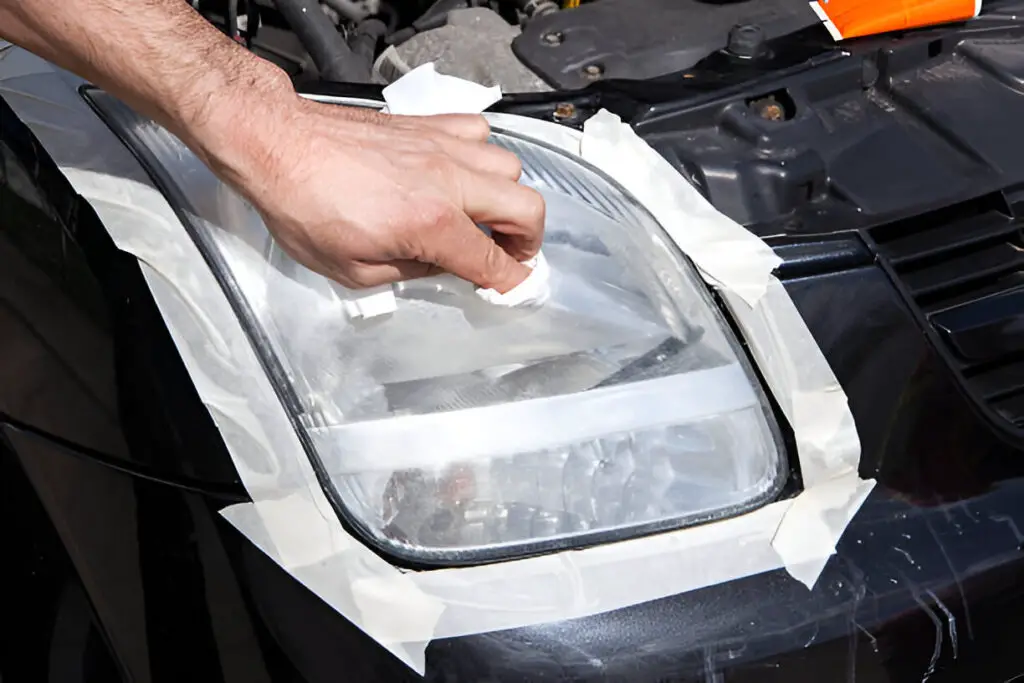
To polish headlight lens covers, start by cleaning the headlights and masking the surrounding areas to protect the car’s paint. Wet sand the lens with progressively finer grits of sandpaper, then apply a polishing compound to restore clarity. Finish by applying a UV sealant to protect against future damage and keep the lenses clear.
Over time, the plastic lens covers on your car’s headlights can become foggy, yellowed, or scratched, reducing the effectiveness of your headlights and making nighttime driving more dangerous. Polishing your headlight lens covers is a relatively simple process that can restore their clarity, improve your car’s appearance, and enhance safety on the road.
In this blog post, we’ll walk you through a step-by-step guide on how to polish your headlight lens covers, discuss the materials you’ll need, and explore both DIY and professional options.

Contents
How to Polish Headlight Lens Covers
Before getting started, gather the necessary tools and materials. Some of these may already be in your garage, while others can be purchased from an auto parts store or online:
- Masking Tape: To protect the paint around the headlights.
- Sandpaper: Wet/dry sandpaper in various grits (typically 600, 1000, 2000, and 3000 grit) for removing oxidation and surface scratches.
- Polishing Compound: Used to buff the headlight to a high-gloss finish.
- Plastic Polish or Headlight Restoration Kit: These kits usually include polishing agents and sometimes even UV sealants to protect the headlight after polishing.
- Microfiber Cloths: For applying compounds and polishing the lens.
- Water Spray Bottle: To keep the surface wet while sanding.
- UV Sealant or Clear Coat: A protective coating to prevent future UV damage.
- Optional: A drill with a buffing pad attachment for faster, more thorough polishing.
Step-by-Step Guide to Polishing Headlight Lens Covers
Follow these steps to polish your headlight lens covers and restore them to their original clarity:
Step 1: Clean the Headlights
Before polishing, thoroughly clean the headlights to remove dirt, dust, and debris. You can use regular car soap and water or a specialized automotive cleaner. Make sure the headlights are completely dry before moving to the next step.
Step 2: Mask the Surrounding Area
Using masking tape, carefully cover the area around the headlights to protect your car’s paint. Sandpaper and polishing compounds can scratch or damage the paint, so take your time to ensure full coverage.
Step 3: Wet Sand the Headlights
Start with wet sanding to remove oxidation and deeper scratches from the surface of the lens.
- Begin with Low Grit (600): Use a spray bottle to wet both the headlight surface and the sandpaper. Sand the headlight in circular motions, applying light but even pressure. Focus on the cloudy or yellowed areas. Keep the surface wet throughout the process.
- Move to Higher Grit (1000-2000): Once you’ve sanded with 600 grit, move to 1000 or 2000 grit sandpaper. This step will help refine the surface and remove the marks left by the coarser paper. Sand in straight lines this time, alternating directions with each grit (horizontal for 1000, vertical for 2000).
- Finish with 3000 Grit: Use the finest sandpaper (3000 grit) to smooth out the surface. This step prepares the lens for polishing and removes any remaining scratches. By now, the headlight should appear uniform, though it may still look hazy.
Step 4: Apply Polishing Compound
Once you’ve finished sanding, it’s time to apply the polishing compound. You can do this by hand with a microfiber cloth, or for faster and more effective results, use a drill with a buffing pad attachment.
- Apply the Polish: Put a small amount of polishing compound on the headlight lens or the buffing pad. Use a microfiber cloth if polishing by hand, applying firm pressure and rubbing in circular motions.
- Buff the Headlight: If using a drill, set it to a low-to-medium speed and buff the headlight until it becomes clear and shiny. Work slowly and ensure even coverage across the lens.
- Wipe Clean: After polishing, wipe away any excess compound with a clean microfiber cloth. Your headlights should now look noticeably clearer.
Step 5: Apply UV Sealant or Clear Coat
After polishing, the headlight lenses are more susceptible to UV damage because the protective factory coating has been sanded off. Applying a UV sealant or clear coat is crucial to prevent the lenses from becoming cloudy again.
- Apply the UV Sealant: Follow the instructions on the product, applying it in thin, even layers over the headlight lens. Allow it to cure properly, as instructed, to ensure maximum protection.
- Let It Dry: Leave the sealant to dry completely. This step usually takes 30 minutes to an hour, but drying times may vary depending on the product.

DIY vs. Professional Headlight Restoration
While polishing headlights is a task that many car owners can tackle themselves, you may wonder if professional headlight restoration is a better option. Let’s compare the two approaches:
DIY Headlight Restoration
- Cost: DIY headlight restoration is inexpensive. You’ll need to invest in some basic materials like sandpaper, polishing compound, and a UV sealant. Many headlight restoration kits are available for $20-$40.
- Time: Depending on the condition of your headlights, DIY restoration can take 1-2 hours.
- Results: With patience and attention to detail, you can achieve professional-quality results at home.
Professional Headlight Restoration
- Cost: Professional services typically cost between $50 and $100 per headlight, depending on your location and the severity of the damage.
- Time: A professional service usually takes about 1 hour for both headlights.
- Results: Professionals use specialized equipment and materials, ensuring long-lasting results. They may also offer warranties on their services.
If your headlights are severely damaged or you’re not comfortable doing the work yourself, professional restoration might be worth the extra cost.
Frequently Asked Questions
Here are some FAQs about polish headlight lens covers –
1. How often should I polish my headlight lens covers?
The frequency of polishing depends on your driving environment and how well you maintain your headlights. In general, you may need to polish your headlights every 12-18 months, or when they start to appear cloudy or yellow.
2. Can I use toothpaste to polish headlights?
Yes, toothpaste can be used as a mild abrasive to polish headlights. While it may improve clarity temporarily, it is not as effective as specialized polishing compounds or headlight restoration kits for long-term results.
3. How long does a headlight restoration last?
When done properly and sealed with a UV protectant, headlight restoration can last for a year or more. Without UV protection, however, headlights may start to become cloudy again after just a few months.
4. Do headlight restoration kits work?
Yes, headlight restoration kits can be very effective if used correctly. They typically include all the materials you need, including sandpaper, polish, and a UV sealant, and are designed for easy DIY application.
5. Can I prevent my headlights from becoming foggy again?
Yes, applying a UV protectant or clear coat after polishing can prevent future oxidation. Regular cleaning of your headlights and parking in the shade or garage can also help minimize UV exposure and road debris.
Conclusion
Polishing your headlight lens covers is a simple yet effective way to restore clarity, improve visibility, and enhance your car’s appearance. Whether you choose to do it yourself or have it done professionally, the key is to address the problem early and use quality materials to ensure long-lasting results. By following this step-by-step guide and applying a UV protectant after polishing, you can keep your headlights looking clear and performing well for years to come.