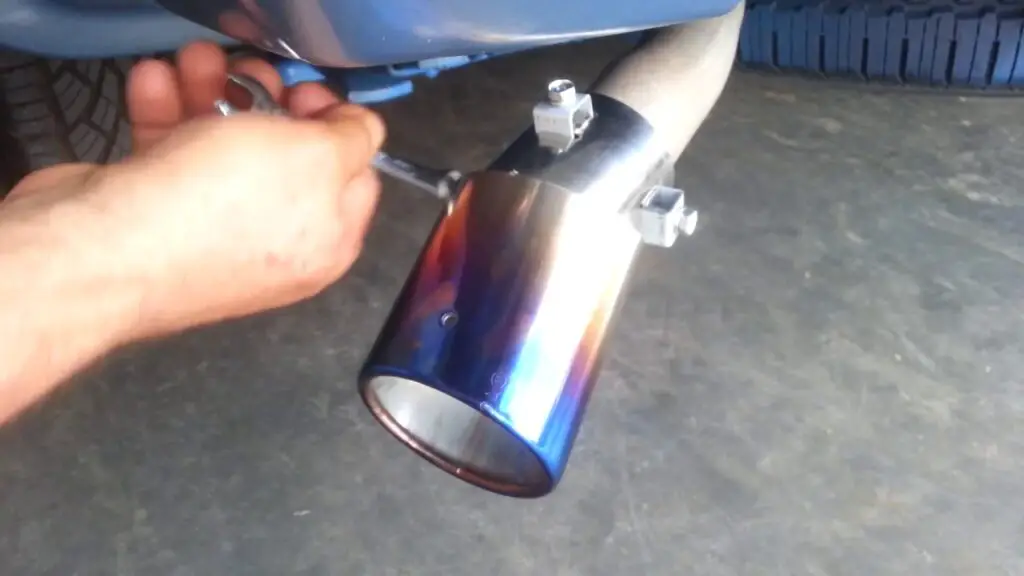
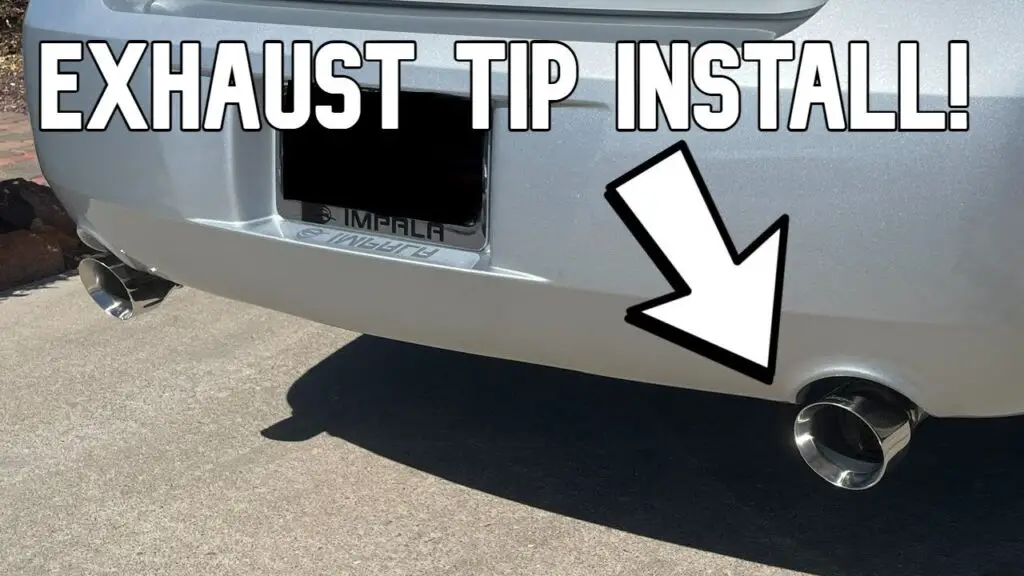
How to put on an exhaust tip: To put on an exhaust tip, start by ensuring the exhaust system is cool. Align the tip with the exhaust pipe, then secure it using bolts, screws, or clamps, tightening them evenly to ensure a firm fit.
When it comes to customizing your vehicle, adding an exhaust tip can be an easy yet impactful modification. An exhaust tip not only enhances the visual appeal of your car but also gives it a distinctive sound. Installing an exhaust tip is a simple process that you can perform yourself with the right tools and some basic know-how.
In this detailed guide, we’ll walk you through every step of how to put on an exhaust tip, from preparation to installation, and provide expert tips to ensure a professional result.

Contents
Before You Begin
Before diving into the installation process, there are a few things to consider. Ensuring that you have the correct exhaust tip size for your vehicle is essential for achieving both functional and aesthetic goals. Most exhaust tips are designed to fit over or inside the exhaust pipe, and matching the right size is crucial to avoid issues like poor fit or exhaust leaks.
This guide covers the steps for installing most types of exhaust tips, whether you’re upgrading your existing tip or installing a brand new one. It’s important to note that the process can vary slightly depending on the specific type of exhaust tip you are using and the setup of your vehicle.
Tools and Materials Needed
Before you start installing your exhaust tip, you’ll need to gather a few tools and materials. These are generally easy to find and are typically things you already have at home or in your toolbox:
- Exhaust Tip: Choose one that matches your vehicle’s exhaust pipe diameter.
- Wrench or Socket Set: You’ll need these for tightening bolts or nuts securing the exhaust tip.
- Screwdriver: If your exhaust tip requires screws for mounting, you’ll need this tool.
- WD-40 or Penetrating Oil: This helps loosen any rusted or stubborn parts on your exhaust system.
- Clean Cloth: To wipe down your exhaust pipe and tip.
- Gloves: To protect your hands while working with metal components.
- Jack and Jack Stands: If your exhaust system is hard to reach, a jack may be necessary to lift the vehicle for better access.
- Measuring Tape: To ensure that the exhaust tip fits the diameter of your exhaust pipe.
Step-by-Step Guide on How to Install an Exhaust Tip
Now that you have your tools and materials, let’s break down the step-by-step process of how to put on an exhaust tip.
1. Ensure the Exhaust System is Cool
The first and most important step is to ensure the exhaust system is completely cool. This is crucial because the exhaust system can become extremely hot during and after driving, and working with hot components can result in burns or other injuries. Ideally, wait several hours after driving before attempting to install the exhaust tip. This is especially important if you’re replacing an old exhaust tip or working with any rusted parts.
2. Lift the Vehicle (If Needed)
If the exhaust tip is located in a difficult-to-reach area, you may need to lift your vehicle using a jack. Place the jack beneath the vehicle and raise it up. Secure the vehicle with jack stands to prevent it from falling while you work. Always follow safety protocols when lifting a car, and ensure you are on level ground.
3. Remove the Old Exhaust Tip (If Applicable)
If you are replacing an existing exhaust tip, you will need to remove the old one first. Most exhaust tips are attached to the exhaust pipe with bolts or screws. Using a wrench or socket set, loosen the bolts or nuts holding the old exhaust tip in place. In some cases, you may need to use WD-40 or penetrating oil to loosen any rusted or stubborn bolts.
Once the bolts or screws are removed, carefully slide the old exhaust tip off the exhaust pipe.
4. Clean the Exhaust Pipe
Before installing the new exhaust tip, it’s important to clean the exhaust pipe. Use a clean cloth to wipe off any dirt, grease, or rust from the area where the exhaust tip will be installed. A clean surface ensures a secure fit and minimizes the risk of exhaust leaks or other issues. If there is any rust buildup on the exhaust pipe, it’s a good idea to scrape it off gently before proceeding.
5. Align the New Exhaust Tip
Now that the exhaust pipe is clean and ready, it’s time to install the new exhaust tip. Position the tip onto the exhaust pipe, making sure it aligns properly. Many exhaust tips feature a clamp or adjustable mechanism to help align the tip correctly. Ensure that the exhaust tip is centered and evenly positioned for a professional look.
If the exhaust tip is adjustable, ensure that the clamp or mechanism is tightened just enough to hold the tip in place while you secure it fully. This allows for fine-tuning before you tighten everything down.
6. Secure the Exhaust Tip
Once the exhaust tip is aligned, it’s time to secure it in place. Most exhaust tips are either clamped or bolted onto the exhaust pipe. If your exhaust tip uses a bolt or nut system, use your wrench or socket set to tighten the bolts evenly. Be careful not to overtighten, as this could damage the exhaust tip or pipe. If your exhaust tip uses screws, use a screwdriver to secure the screws into place.
It’s important to ensure that the exhaust tip is tightly fastened to prevent any movement while driving. This will also help to reduce the risk of rattling and other unwanted sounds that can occur if the tip is loose.
7. Check for Proper Fit and Secure the Tip
Before lowering the vehicle, double-check that the exhaust tip is securely attached and properly aligned. The tip should sit snugly against the exhaust pipe, with no gaps or misalignment. Gently wiggle the exhaust tip to ensure it is firmly in place. If it moves or rattles, it may not be securely attached.
8. Lower the Vehicle (If Lifted)
If you lifted the vehicle to access the exhaust tip, carefully lower the car back to the ground using the jack. Once the car is safely on the ground, perform a final check to make sure the exhaust tip is secure and properly aligned.

Maintenance and Care Tips for Your Exhaust Tip
To keep your new exhaust tip looking good and functioning well, here are some helpful maintenance tips:
- Clean the Exhaust Tip Regularly: Over time, dirt, soot, and grime can accumulate on the exhaust tip, dulling its appearance. Regular cleaning with soap and water can help maintain its shine. For tougher grime, use a mild degreaser or specialized exhaust cleaner.
- Check for Loosening: After the first 50 to 100 miles of driving, inspect the exhaust tip to ensure it hasn’t loosened. Vibration and heat from the exhaust system can sometimes cause bolts or screws to loosen over time.
- Avoid Over-tightening: While it’s important to securely fasten the exhaust tip, over-tightening the bolts or screws can cause damage to both the tip and the exhaust pipe.
- Inspect for Rust: If you live in an area with high humidity or use your vehicle in winter (when road salt is used), periodically check for signs of rust or corrosion on the exhaust tip and surrounding exhaust components.
Frequently Asked Questions
Here are some FAQs about how to put on an exhaust tip –
1. Can I install an exhaust tip myself?
Yes, installing an exhaust tip is a relatively simple DIY project that can be done at home with basic tools. Just make sure to follow the steps carefully for a secure fit.
2. How do I know what size exhaust tip to buy?
Measure the outer diameter of your vehicle’s exhaust pipe to determine the correct exhaust tip size. Most exhaust tips are designed to fit a range of sizes, but you should ensure a proper fit for the best performance.
3. Does installing an exhaust tip make my car louder?
Exhaust tips can slightly modify the sound of your vehicle’s exhaust, but they don’t significantly increase loudness. The sound is mainly determined by the muffler and exhaust system design.
4. How often should I check the exhaust tip after installation?
Check the exhaust tip after the first 50-100 miles to ensure it is securely attached. Afterward, it’s a good idea to inspect it periodically to prevent loosening or rust buildup.
5. Can I replace the exhaust tip with a larger one?
Yes, you can replace the exhaust tip with a larger one, but ensure that the new tip fits properly. If it’s too large or mismatched, it could lead to exhaust leaks or other issues.
Conclusion
Installing an exhaust tip is a simple yet effective way to enhance the look and sound of your vehicle. By following the step-by-step instructions above and performing regular maintenance, you can enjoy the benefits of a well-installed exhaust tip for years to come. Whether you’re upgrading your existing tip or installing a new one, the process is straightforward and easy to do yourself.