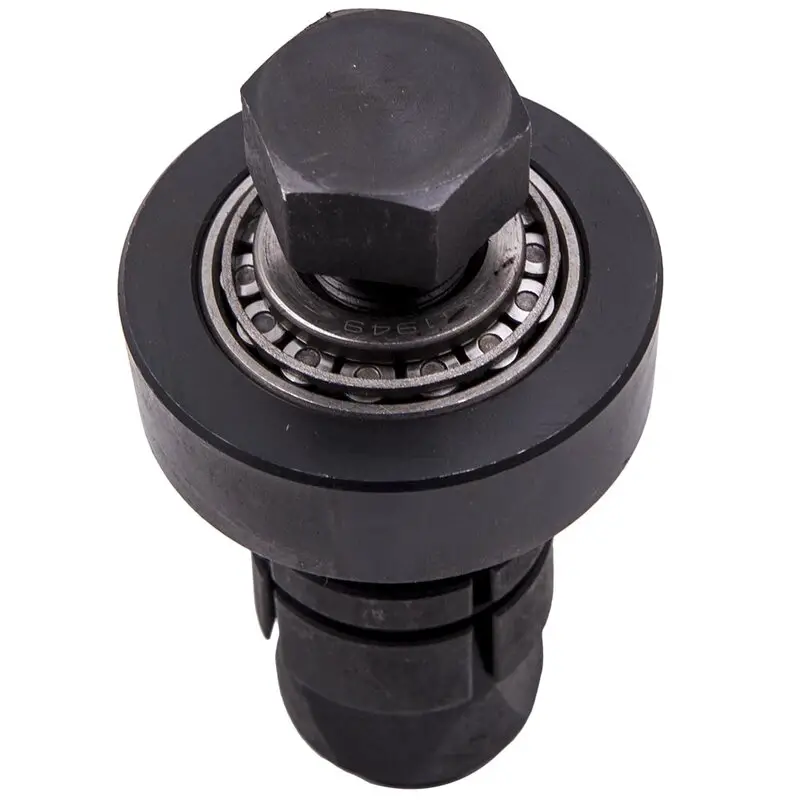
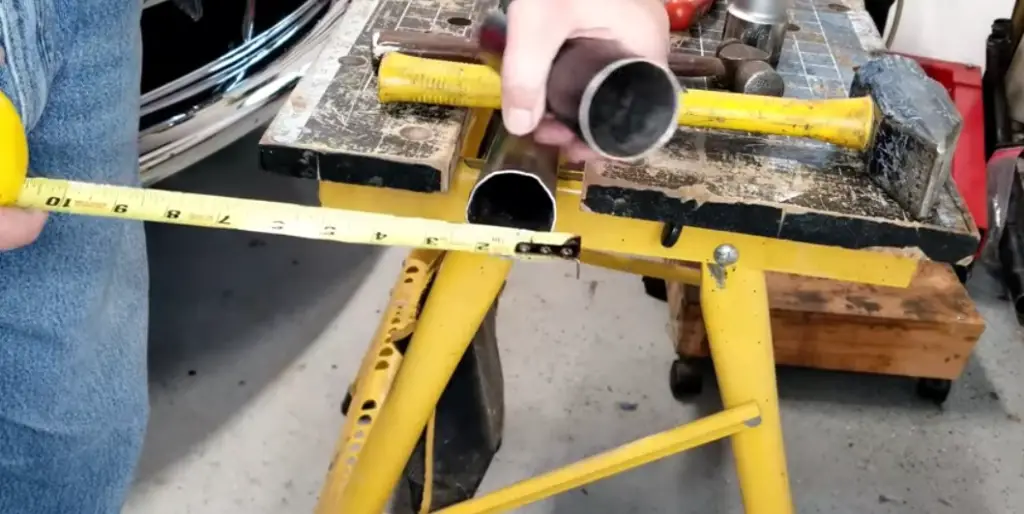
How to use exhaust pipe expander tool starts by inserting the tool into the end of the exhaust pipe and tightening it gradually to expand the diameter. This allows a snug fit for connecting pipes and helps prevent exhaust leaks.
When working on a vehicle’s exhaust system, a perfect fit between pipes is crucial for preventing leaks, improving performance, and maintaining structural integrity. One of the most effective tools for achieving that snug fit is the exhaust pipe expander. Whether you’re customizing your exhaust setup, replacing sections, or installing aftermarket components, knowing how to properly use an exhaust expander can save time, money, and a lot of frustration.
In this comprehensive guide, we’ll explain how to use an exhaust pipe expander tool—from tool types and safety tips to step-by-step instructions and common mistakes to avoid.

Contents
What Is an Exhaust Pipe Expander Tool?
An exhaust pipe expander is a mechanical tool used to enlarge the diameter of an exhaust pipe. It does this by applying outward force inside the pipe, which stretches the metal outward uniformly. This helps when you need to slip one pipe over another or fit couplers and clamps during custom exhaust work.
The tool is often used by:
- Mechanics
- DIY auto enthusiasts
- Muffler shop technicians
The typical expander consists of:
- A central bolt or screw mechanism
- Expansion segments (usually steel “fingers”)
- A rotating handle or socket head (for manual, pneumatic, or hydraulic use)
Types of Exhaust Pipe Expanders
There are three main types of exhaust pipe expanders. The one you choose depends on your experience level, the tools you have, and the scope of your work.
1. Manual Expander
- Hand-operated using a wrench or ratchet
- Best for small jobs or occasional use
- Inexpensive and easy to find
2. Hydraulic Expander
- Uses hydraulic force to apply pressure evenly
- Faster and more powerful than manual tools
- Ideal for shops and heavy-duty applications
3. Pneumatic (Air-Powered) Expander
- Operated via air compressor
- High-speed operation
- Used in professional garages and muffler shops
Each type serves the same purpose but differs in effort, cost, and speed. For most at-home users, a manual expander is sufficient.
When to Use an Exhaust Pipe Expander
An expander comes in handy during various exhaust system tasks, such as:
- Creating slip-fit connections
- Installing or replacing mufflers
- Fitting catalytic converters
- Resizing or reshaping crushed pipe ends
- Expanding factory-crimped ends
It’s especially helpful when working with aftermarket exhaust kits that might not be an exact match.
How to Use Exhaust Pipe Expander Tool
Here’s a detailed breakdown of how to safely and effectively use the tool.
Step 1: Safety First
Before starting, make sure you:
- Wear safety glasses and gloves
- Work in a well-lit, ventilated area
- Secure the vehicle on jack stands if working under it
Step 2: Clean the Pipe
Use a wire brush or sandpaper to clean the inside of the pipe. Remove any rust, debris, or carbon buildup to prevent friction or tool damage.
Step 3: Lubricate the Tool and Pipe
Apply a penetrating oil or general-purpose lubricant to:
- The tool’s expanding segments
- The inside surface of the pipe
This makes the operation smoother and reduces wear.
Step 4: Insert the Expander Tool
- Choose the correct size expander for the pipe diameter (most tools cover 1-1/8″ to 3-1/2″)
- Insert the tool at least ¾ of the way into the pipe
- Ensure it’s centered for even expansion
Step 5: Begin Expanding
- Use a wrench or ratchet to turn the tool clockwise
- The expansion segments will press against the inner walls of the pipe
- Go slowly and steadily to avoid tearing or cracking the metal
- Expand just enough to slide the mating pipe or component inside
🚨 Tip: Avoid over-expanding, which can weaken the metal or create poor sealing surfaces.
Step 6: Check Fitment
After expanding:
- Remove the tool
- Test fit the connecting pipe or part
- Repeat if a bit more expansion is needed
Step 7: Finish the Job
- Use a metal file to smooth any sharp edges
- Secure the pipes using exhaust clamps or welding
- Check for leaks once the system is assembled

Safety Tips and Common Mistakes
Here are key safety tips and common mistakes to keep in mind when using an exhaust pipe expander tool:
✅ Do:
- Use lubricant every time
- Expand gradually
- Choose the right size tool for the pipe
- Support the pipe with a vise or jack stand if needed
❌ Don’t:
- Over-tighten the tool (can split the pipe)
- Expand a rusty or brittle pipe
- Use an impact wrench unless the tool supports it
- Skip safety gear
Maintenance Tips for the Tool
A good expander tool can last for years if maintained properly:
- Clean after each use
- Keep moving parts lubricated
- Store in a dry, rust-free environment
- Replace any worn expansion fingers
Frequently Asked Questions
Here are some FAQs about how to Use exhaust pipe expander tool –
Can an exhaust pipe expander fix a dented pipe?
A pipe expander can help slightly reshape a dented pipe, but it’s not a guaranteed fix. Deep dents or kinks may require pipe replacement.
Will using an expander affect exhaust flow?
When used correctly, it won’t negatively impact flow. In fact, it helps ensure tighter connections that reduce exhaust leaks and backpressure.
How much can I expand a pipe safely?
You should expand only enough to allow the mating pipe to fit inside—typically 1–2 millimeters. Over-expanding can weaken or split the pipe.
Can I use a manual expander with an impact wrench?
Most manual expanders are not rated for power tools. Using an impact wrench may break the threads or expansion segments. Always follow the tool manufacturer’s guidelines.
Do I need a different expander for stainless steel pipes?
Not always, but stainless steel is harder to expand. Use a heavy-duty expander and apply more lubricant to reduce wear.
Final Thoughts
Using an exhaust pipe expander tool isn’t just for pros—it’s a valuable skill for any serious DIY mechanic. Whether you’re replacing parts or building a custom system, the ability to expand pipe ends properly ensures better fitment, leak prevention, and long-term durability.
With the right tool, a steady hand, and a bit of patience, you can make perfect connections every time.