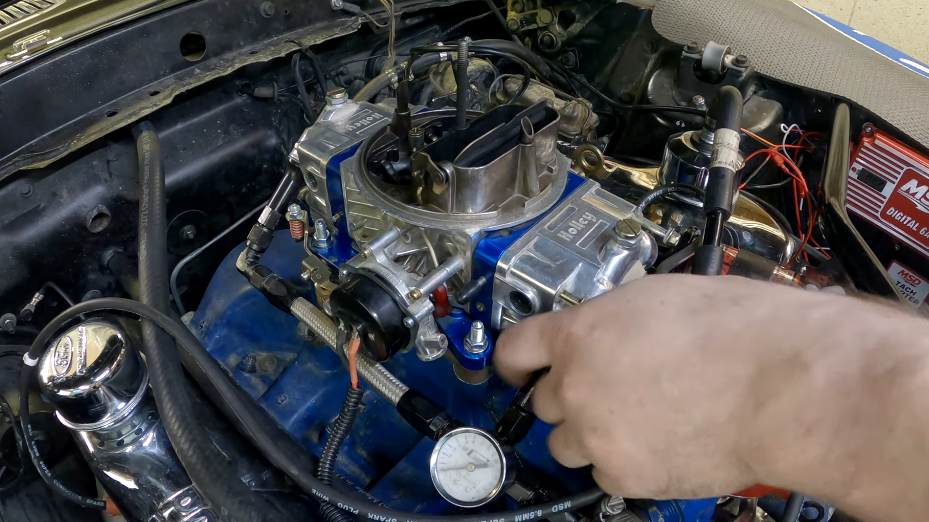
A power valve check ball kit installation helps protect the carburetor’s power valve from damage caused by engine backfires. The check ball and spring mechanism block backfire pressure from reaching the valve, preventing diaphragm failure. Installing this kit improves engine performance, extends power valve life, and is a cost-effective solution for enhanced durability.
In the world of carbureted engines, power valves play a critical role in controlling the fuel flow during various driving conditions. A properly functioning power valve enhances engine performance by enriching the fuel mixture when additional power is required, such as during acceleration or under load. However, power valves can sometimes fail, leading to drivability issues, rough idle, or fuel leakage into the carburetor.
Installing a power valve check ball kit can help prevent premature power valve failure by safeguarding the valve against damage, particularly due to backfires. This post will guide you through the installation process of a power valve check ball kit, explaining its importance and providing a thorough step-by-step procedure for a successful installation.
Contents
What is Power Valve Check Ball Kit?
A power valve check ball kit is designed to protect the power valve in carbureted engines from damage caused by engine backfire. The check ball mechanism acts as a safeguard that prevents the backfire’s pressure wave from reaching and damaging the power valve diaphragm. These kits are commonly used in performance or race engines but can benefit any engine equipped with a carburetor.
Backfire occurs when unburnt fuel ignites in the exhaust or intake manifold, creating an explosive force. Without protection, the power valve diaphragm can rupture, leading to poor engine performance, excessive fuel consumption, and potential stalling. Installing a check ball kit helps ensure the power valve’s longevity and the overall stability of the carburetor’s fuel delivery.

Benefits of Installing a Power Valve Check Ball Kit
Before diving into the installation process, it’s essential to understand the benefits of installing a power valve check ball kit:
- Prevents Power Valve Failure: The primary function of the check ball kit is to protect the power valve from damage caused by engine backfire, reducing the risk of diaphragm rupture.
- Improves Engine Performance: By safeguarding the power valve, the check ball kit helps maintain a consistent fuel mixture, ensuring better throttle response and smoother acceleration.
- Enhances Fuel Efficiency: A well-functioning power valve ensures that the engine gets the correct fuel mixture when needed, avoiding over-rich or lean conditions.
- Increases Durability: The check ball kit extends the life of the power valve, minimizing the need for frequent replacements and reducing maintenance costs.
- Cost-Effective Solution: Installing a check ball kit is a relatively inexpensive way to protect the carburetor from damage, offering long-term savings on repairs and parts replacement.
Tools and Parts Required
Before starting the installation, gather the necessary tools and parts to ensure a smooth process:
- Power valve check ball kit (ensure it is compatible with your carburetor model)
- Carburetor rebuild kit (optional if you plan on refreshing the entire carburetor)
- Flathead screwdriver
- Needle-nose pliers
- Clean shop towels
- Carburetor cleaner
- Gasket scraper
- Thread sealant (optional)
- Torque wrench (if available)
Steps of Power Valve Check Ball Kit Installation
Follow the step by step guide of installation –
Step 1: Preparation
Before starting the installation, ensure the engine is cool and that you have a clean workspace. Disconnect the battery to prevent accidental sparks or short circuits during the installation process. If necessary, refer to your carburetor’s service manual for specific instructions on disassembly and installation.
Step 2: Remove the Carburetor
To install the power valve check ball kit, you’ll first need to remove the carburetor from the engine. Begin by disconnecting the fuel lines, throttle linkage, and any vacuum hoses connected to the carburetor. Use a flathead screwdriver to loosen the carburetor mounting bolts and carefully lift the carburetor off the intake manifold.
Be mindful of any gaskets or seals that may need to be replaced during reassembly. Use clean shop towels to prevent debris from entering the intake manifold while the carburetor is removed.
Step 3: Disassemble the Carburetor
Place the carburetor on a clean workbench and begin disassembling it to access the power valve. Most carburetors will have a metering block or base plate that houses the power valve. Remove the screws securing the metering block to the carburetor body using a screwdriver.
Once the metering block is removed, locate the power valve in the center of the metering block. It will typically be a small, round valve with a threaded body. Use a wrench to carefully unscrew the power valve and remove it from the metering block.
Step 4: Install the Power Valve Check Ball
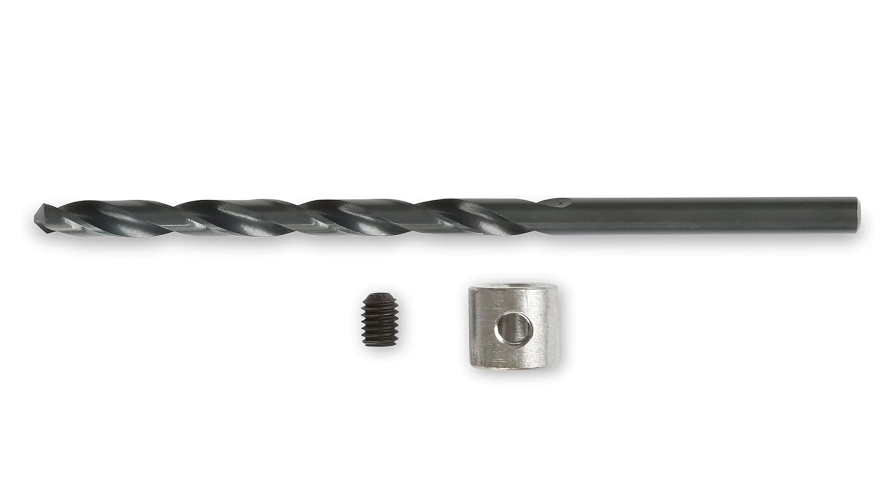
With the power valve removed, you can now install the check ball kit. The check ball kit typically includes a small ball bearing, a spring, and sometimes a retaining plug. The check ball sits in a cavity between the power valve and the carburetor base plate, allowing fuel to pass through under normal conditions but preventing pressure waves from damaging the valve during a backfire.
Follow these steps:
- Place the check ball in the designated cavity inside the metering block or base plate. Ensure that the ball sits securely in place.
- Install the spring over the check ball, ensuring it sits evenly to allow the ball to move freely when needed.
- If your kit includes a retaining plug, carefully insert it over the spring to hold the check ball and spring in place.
Step 5: Reinstall the Power Valve
Once the check ball kit is installed, reinstall the power valve. Apply a small amount of thread sealant to the threads of the power valve (optional) to ensure a secure seal. Thread the power valve back into the metering block by hand, then use a wrench to tighten it. Be careful not to overtighten, as this could damage the threads or the power valve itself.
Step 6: Reassemble the Carburetor
With the power valve and check ball kit installed, reassemble the carburetor. Reattach the metering block to the carburetor body, securing it with the screws you removed earlier. Ensure all gaskets and seals are in place, replacing any that appear damaged or worn.
Step 7: Reinstall the Carburetor
Carefully place the carburetor back onto the intake manifold, ensuring proper alignment with the mounting bolts. Reattach the fuel lines, throttle linkage, and vacuum hoses to their respective positions. Tighten the carburetor mounting bolts using a torque wrench (if available) to ensure even pressure on the mounting gasket.
Step 8: Final Checks
Before starting the engine, double-check all connections, fuel lines, and hoses to ensure everything is securely in place. Reconnect the battery and perform a final visual inspection of the carburetor installation.
Once satisfied, start the engine and allow it to idle for a few minutes. Listen for any unusual sounds or signs of fuel leakage around the carburetor. If everything appears to be functioning correctly, take the vehicle for a test drive to assess throttle response and engine performance.

Frequently Asked Questions
Here are some FAQs about the power valve check ball kit installation –
1. What does a power valve check ball kit do?
A power valve check ball kit protects the power valve in a carburetor from damage caused by engine backfires. It uses a ball bearing and spring mechanism to block the backfire pressure wave from reaching the power valve diaphragm.
2. Do all carburetors need a power valve check ball kit?
While not all carburetors require a check ball kit, it is highly recommended for performance or racing engines, or any engine prone to backfire, to protect the power valve from damage.
3. How do I know if my power valve is damaged?
Symptoms of a damaged power valve include poor engine performance, rough idle, excessive fuel consumption, and difficulty starting the engine.
4. Can I install a power valve check ball kit myself?
Yes, with basic mechanical skills and the right tools, most car enthusiasts can install a power valve check ball kit themselves. However, it’s essential to follow proper installation procedures to avoid damaging the carburetor.
5. How often should I replace the power valve check ball kit?
The power valve check ball kit typically lasts as long as the power valve itself. However, it’s a good idea to inspect the kit during regular carburetor maintenance and replace it if any components show signs of wear.
By installing a power valve check ball kit, you can significantly enhance the durability and performance of your carburetor, ensuring reliable engine operation even under challenging conditions.
Conclusion
In conclusion, installing a power valve check ball kit is a practical and effective way to protect your carburetor’s power valve from damage, particularly due to engine backfires. By safeguarding the valve, this kit enhances engine performance, improves fuel efficiency, and increases the longevity of the power valve, making it a valuable addition for both daily drivers and high-performance vehicles.
The installation process is straightforward, and the benefits of reduced maintenance and consistent fuel delivery make it a worthwhile investment for maintaining optimal engine function.