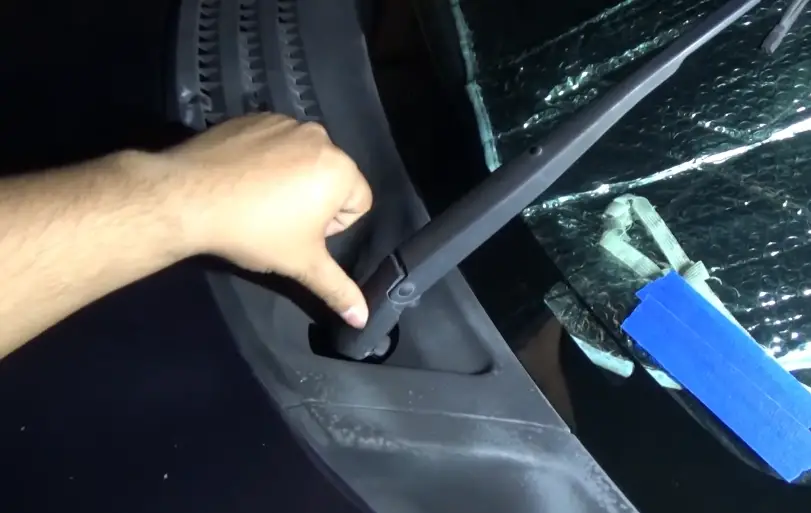
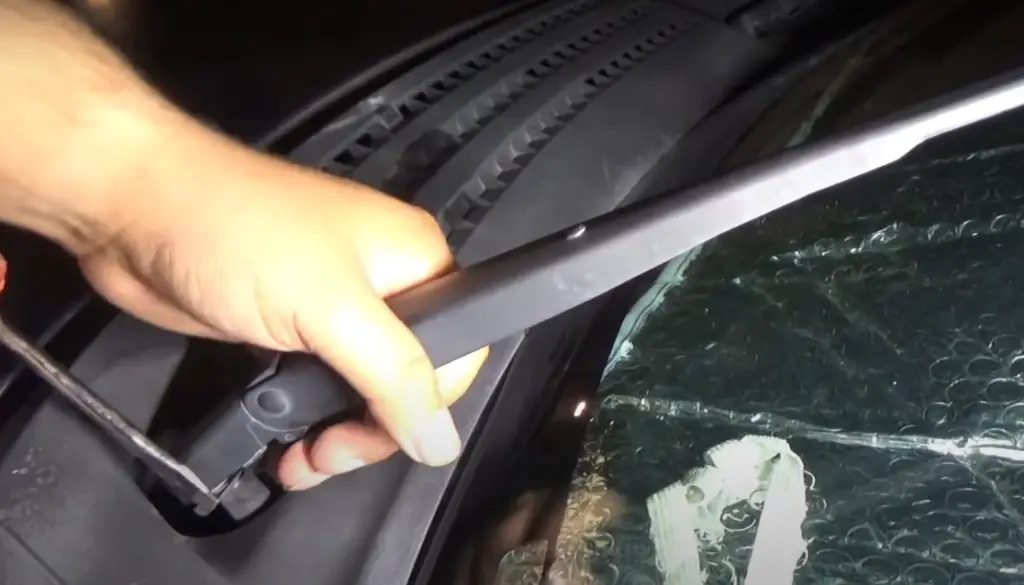
To replace a windshield wiper arm, follow these steps: remove the old arm by detaching the retaining nut, then attach the new arm and tighten the nut securely. Replacing a windshield wiper arm is a simple process that can be done by following a few easy steps.
Windshield wipers are a critical safety feature on any vehicle. They ensure clear visibility during rain, snow, and dust storms, making driving safer for both the driver and others on the road. Over time, the wiper arms-the mechanical components that hold the wiper blades and press them against the windshield-can wear out or become damaged. When this happens, your wiper blades won’t make proper contact with the windshield, reducing their effectiveness.
In this blog post, we will discuss the step-by-step process of replacing a windshield wiper arm, providing you with the knowledge and confidence to tackle this task on your own.
So, let’s get started!

Contents
Why to Replace Windshield Wiper Arms
Windshield wiper arms are designed to last for several years, but over time, they can become bent, corroded, or suffer from wear and tear. There are a few reasons why you might need to replace them:
- Bent or Misaligned Arm: If a wiper arm gets bent, it can prevent the wiper blade from contacting the windshield evenly, causing streaks or missed spots.
- Corrosion: Wiper arms are exposed to the elements, including rain, snow, and salt from the road, which can lead to rust or corrosion over time.
- Loose Connection: The wiper arm may become loose or lose tension over time, causing it to skip or lift off the windshield during use.
- Worn Springs: The springs in the wiper arms can weaken over time, reducing their ability to press the blade firmly against the glass.
- Physical Damage: Wiper arms can be damaged in car washes, by ice, or during improper manual removal of snow or ice from the windshield.
If you notice any of these issues, it’s time to replace your windshield wiper arms.
Windshield Wiper Arm Replacement
Before beginning the replacement process, gather the following tools and materials:
- Replacement wiper arms (ensure they are compatible with your vehicle’s make and model)
- Socket wrench or adjustable wrench
- Flathead screwdriver (optional, for removing caps)
- Rust penetrant spray (if needed, to loosen rusted bolts)
- Torque wrench (optional, for precise tightening)
- Rag or towel (to clean the mounting area)
With these tools in hand, you’re ready to begin the replacement process.
How to Replace Windshield Wiper Arms
Follow the step by step guide below to replace the wiper arms –
Step 1: Identify the Problem
Before replacing the wiper arms, confirm that the issue isn’t with the wiper blades or the motor. Test your wipers by turning them on and observing their motion. If the arms are moving but not wiping the windshield properly, or if they appear to be bent or damaged, it’s likely that the arms need replacement.
Step 2: Remove the Old Wiper Arm
- Park the Wipers in the Resting Position: Turn off the car and ensure that the wiper arms are in their parked position (horizontal on the windshield).
- Lift the Wiper Blade: Gently lift the wiper blade off the windshield and lock it in the upright position if possible. This will give you access to the base of the wiper arm.
- Locate the Retaining Nut: At the base of the wiper arm, where it connects to the wiper linkage, you’ll find a nut holding the arm in place. If a plastic cap covers the nut, carefully pry it off using a flathead screwdriver.
- Loosen the Nut: Use a socket wrench or adjustable wrench to loosen and remove the retaining nut. If the nut is rusted or stuck, apply a rust penetrant spray and allow it to sit for a few minutes before trying again.
- Remove the Wiper Arm: Once the nut is removed, gently pull the wiper arm away from the mount. You may need to wiggle it slightly to loosen it from the wiper linkage.
Step 3: Prepare the Mounting Area
With the old wiper arm removed, take a moment to clean the mounting area. Use a rag or towel to wipe away any dirt, rust, or debris. This ensures a clean surface for the new wiper arm to attach securely.
Step 4: Install the New Wiper Arm
- Position the New Wiper Arm: Align the new wiper arm with the mounting stud. Make sure the arm is oriented in the correct position (matching the angle of the old arm).
- Tighten the Retaining Nut: Place the retaining nut back onto the mounting stud and tighten it by hand. Once hand-tightened, use a socket wrench to secure the nut firmly. If you have a torque wrench, check your vehicle’s manual for the recommended torque specification and tighten the nut accordingly.
- Test the Movement: Before lowering the wiper arm, manually move it back and forth to ensure that it moves smoothly without any obstructions.
Step 5: Reattach the Wiper Blade
Once the wiper arm is securely in place, reattach the wiper blade. Slide the blade into the hook or mounting mechanism on the new arm and ensure it clicks into place.
Step 6: Test the Wipers
Before hitting the road, turn on your wipers to test their function. Watch for any skipping, uneven movement, or noise. Ensure that the wiper blade maintains consistent contact with the windshield and moves smoothly.

Signs You May Need Professional Assistance
While windshield wiper arm replacement is generally a straightforward process, there are some cases where you might need professional help:
- Stripped Wiper Mounting Stud: If the mounting stud is stripped or damaged, the new wiper arm may not fit securely. This could require replacement of the wiper motor or wiper linkage, which may need specialized tools.
- Electrical Issues: If your wiper arms don’t move at all, the problem might be with the wiper motor or electrical system, which is best diagnosed by a mechanic.
- Severe Corrosion: If the retaining nut or wiper arm is heavily corroded, you may need professional assistance to remove and replace the affected parts.
Maintaining Wiper Arms
To extend the life of your new wiper arms, follow these maintenance tips:
- Clean Regularly: Remove dirt, grime, and debris from your wiper arms regularly. Use a mild detergent and water or a specialized cleaner to prevent buildup.
- Inspect for Damage: Periodically check your wiper arms for signs of wear, bending, or corrosion. Catching damage early can prevent the need for a full replacement.
- Replace Wiper Blades: Worn or damaged wiper blades can cause excessive strain on the wiper arms. Replace your blades every 6 to 12 months to maintain optimal performance.
- Avoid Ice Scraping with Wipers: If ice forms on your windshield, avoid using the wipers to remove it. Use an ice scraper instead, as the ice can damage the wiper arms or blades.
Frequently Asked Questions
Here are some FAQs about windshield wiper arm replacement –
1. How often should I replace my windshield wiper arms?
Wiper arms can last for several years, but it’s essential to inspect them regularly for damage, corrosion, or reduced tension. If you notice any of these issues, it may be time for a replacement.
2. Can I replace windshield wiper arms myself, or should I take it to a mechanic?
Yes, replacing windshield wiper arms is a relatively simple DIY task that requires basic tools. However, if you encounter issues like a stripped mounting stud or severe corrosion, professional assistance may be needed.
3. How do I know if my wiper arms are damaged?
Common signs of wiper arm damage include streaking or missed spots on the windshield, uneven wiping, wiper blades lifting off the glass, or visible bending and corrosion on the arm itself.
4. Are all wiper arms the same size?
No, wiper arms are vehicle-specific. Be sure to purchase wiper arms that are compatible with your car’s make, model, and year.
5. Do I need to replace both wiper arms at the same time?
While it’s not necessary, replacing both wiper arms at the same time ensures consistent performance and even wear. If one arm is damaged, the other may not be far behind.
Conclusion
Replacing your windshield wiper arm is a straightforward process that can greatly improve your visibility on the road. By following the steps outlined in this blog post, you can easily remove the old arm and install a new one. Remember to choose a high-quality replacement arm that fits your vehicle’s make and model.
Regular maintenance and replacing worn-out parts will ensure that your windshield wipers perform optimally, keeping you safe during inclement weather conditions. Stay proactive and enjoy clear vision on your journeys.