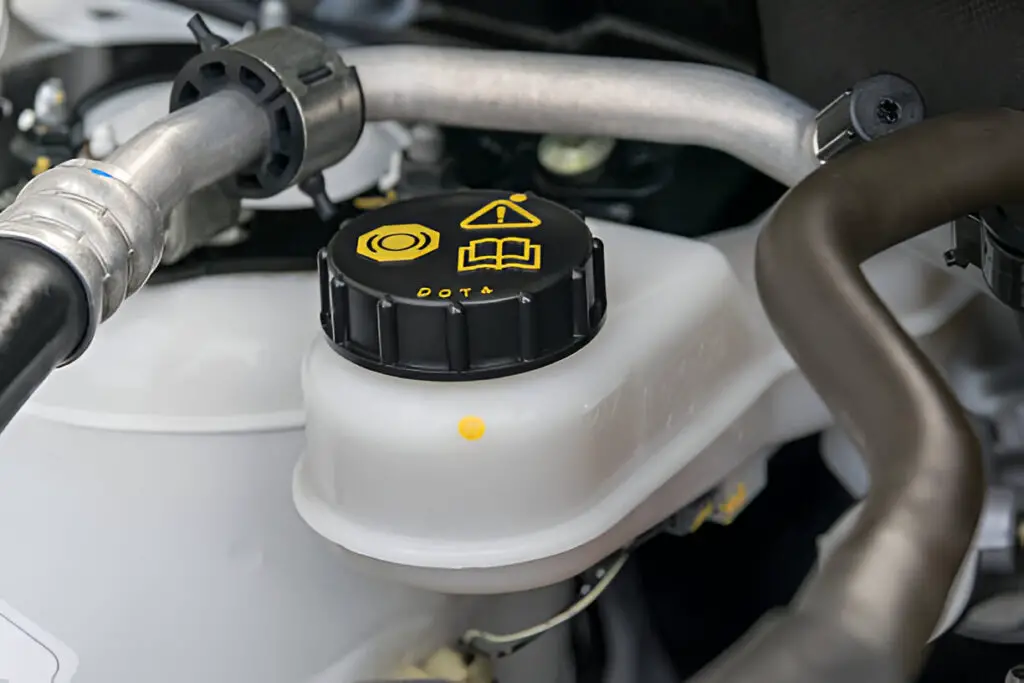
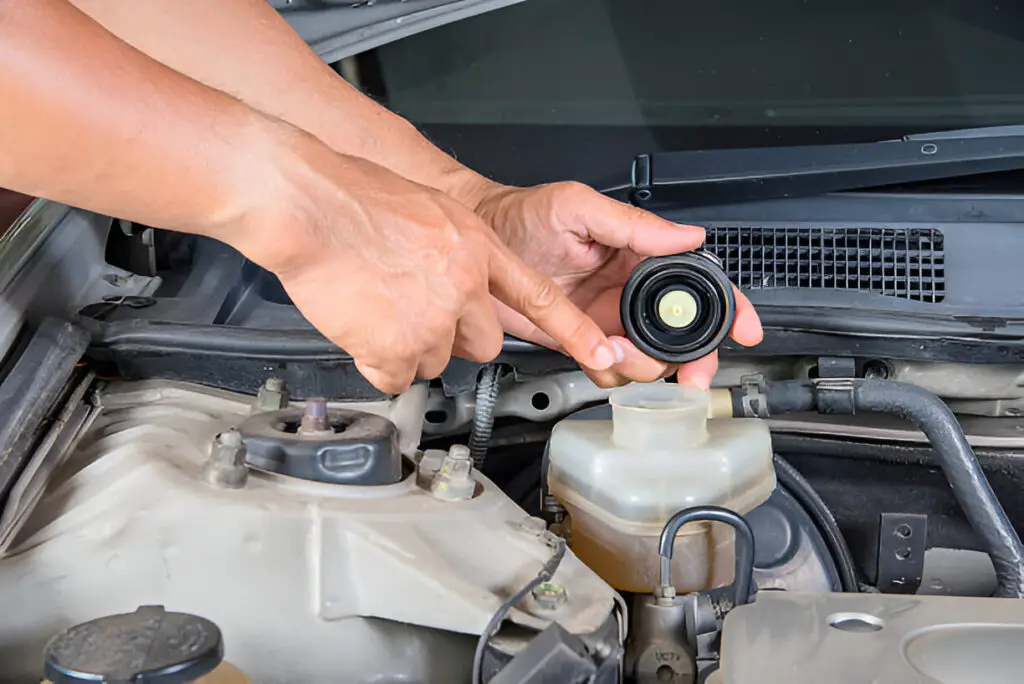
Replacing a brake fluid cap is a simple but important maintenance task to protect your braking system. The cap keeps contaminants and moisture out of the brake fluid, helping maintain proper pressure and ensuring effective braking.
Replacing a brake fluid cap may seem like a minor maintenance task, but it plays a vital role in maintaining the efficiency and safety of your braking system. The brake fluid cap is crucial because it helps maintain the proper pressure and seals the brake fluid reservoir, preventing contamination and moisture from compromising the fluid. In this blog post, we’ll discuss the purpose of the brake fluid cap, signs that it needs replacing, the steps involved in replacing it, and answer common questions.

Contents
- 1 Importance of the Brake Fluid Cap
- 2 How to Tell the Brake Fluid Cap Needs Replacement
- 3 How to Replace a Brake Fluid Cap: A Step-by-Step Guide
- 4 Benefits of Replacing a Faulty Brake Fluid Cap
- 5 Frequently Asked Questions
- 6 Conclusion
Importance of the Brake Fluid Cap
The brake fluid cap is a small but essential component of your vehicle’s braking system. Located on top of the brake fluid reservoir, this cap acts as a seal that prevents dust, dirt, and moisture from contaminating the brake fluid. Brake fluid is highly hygroscopic, meaning it absorbs moisture over time. Even a small amount of moisture can lead to corrosion in the brake lines and reduce the fluid’s boiling point, leading to decreased braking performance.
Additionally, the cap is responsible for maintaining proper pressure in the brake fluid reservoir. If the cap is damaged or missing, the braking system could suffer from compromised fluid pressure, leading to brake fade and even brake failure in extreme cases.
Key Functions of the Brake Fluid Cap
- Seals the Brake Fluid Reservoir: Keeps out contaminants like dirt, dust, and water.
- Maintains System Pressure: Helps keep the brake fluid under optimal pressure for consistent braking.
- Prevents Evaporation: Stops the brake fluid from evaporating, which would decrease braking effectiveness.
How to Tell the Brake Fluid Cap Needs Replacement
While the brake fluid cap is built to last, there are some situations that may require a replacement. Identifying a faulty brake fluid cap early on can prevent potential issues with your braking system.
Common Signs to Look Out For
- Cracks or Visible Damage: If you notice cracks, warping, or other visible damage on the cap, it’s likely allowing air and moisture into the reservoir.
- Loose Fit: If the cap doesn’t fit tightly onto the reservoir or is loose, it may not be sealing properly.
- Contaminated Brake Fluid: A cloudy or dark color in your brake fluid may indicate contamination, which could be due to a faulty cap.
- Warning Lights: In some cars, a brake warning light or ABS light on the dashboard may appear due to pressure issues in the brake system.
- Fluid Leaks: Any visible brake fluid leaks around the reservoir cap area could indicate a poor seal.
If you notice any of these signs, replacing the brake fluid cap should be a priority to avoid compromising your brake system’s performance.
How to Replace a Brake Fluid Cap: A Step-by-Step Guide
Replacing a brake fluid cap is a relatively simple task and can usually be done in under 10 minutes. However, you’ll want to ensure you’re using the correct replacement part, as caps are designed to fit specific makes and models.
Tools and Materials You’ll Need
- Replacement brake fluid cap (specific to your car’s make and model)
- Clean cloth or paper towel
- Brake cleaner (optional, for cleaning the reservoir area)
Step-by-Step Guides to Brake Fluid Cap Replacement
Follow the steps below to do the job successfully –
Step 1: Park Safely and Locate the Brake Fluid Reservoir
- Park your vehicle on a flat, stable surface and engage the parking brake.
- Open the hood and locate the brake fluid reservoir, typically positioned near the back of the engine compartment on the driver’s side.
Step 2: Inspect the Current Cap
- Take a close look at the existing cap for signs of wear, cracks, or other damage. If the cap appears faulty or loose, it’s time for a replacement.
Step 3: Remove the Old Cap
- Carefully unscrew or pop off the old brake fluid cap. In most vehicles, the cap should twist off easily. Avoid applying too much force, as brake fluid is corrosive, and spills could damage paint or other components.
Step 4: Clean the Area (Optional)
- If there’s any dust or debris around the reservoir opening, clean it with a cloth or brake cleaner. Make sure not to let contaminants enter the reservoir.
Step 5: Install the New Cap
- Take your new brake fluid cap and align it with the opening on the brake fluid reservoir. Screw it on securely until it feels snug. Ensure the cap fits tightly, as a loose cap won’t provide a proper seal.
Step 6: Double-Check
- Once the new cap is installed, double-check that it’s secure and properly sealed. Start the vehicle and press the brake pedal a few times to ensure everything feels normal and that there are no warning lights.
When to Check Brake Fluid
Replacing the brake fluid cap is a good opportunity to check the fluid level. If the brake fluid is low, consider topping it off with the manufacturer-recommended type (usually DOT 3, DOT 4, or DOT 5). Avoid mixing brake fluid types, as this could affect brake performance.

Benefits of Replacing a Faulty Brake Fluid Cap
The brake fluid cap plays an essential role in preserving the quality and function of your brake fluid. Here’s why replacing a faulty cap is beneficial:
- Enhanced Safety: A proper seal reduces the risk of brake fluid contamination, ensuring reliable braking performance.
- Prevents Corrosion: Moisture in brake fluid can lead to corrosion in the brake lines and cylinders, so a good cap helps extend the life of these components.
- Maintains System Pressure: A secure cap helps maintain the necessary pressure within the brake system, ensuring consistent braking.
- Improved Brake Fluid Longevity: By preventing contamination, a good cap keeps the brake fluid effective longer, reducing the need for frequent replacements.
Frequently Asked Questions
Here are some FAQs about brake fluid cap replacement –
How often should I replace my brake fluid cap?
Brake fluid caps don’t require regular replacement unless they’re damaged or not sealing correctly. Check the cap during regular maintenance and replace it if you notice any cracks or loose fit.
Can I use a universal brake fluid cap for replacement?
While some universal caps are available, it’s best to use a cap specifically designed for your vehicle’s make and model to ensure a proper fit and seal.
What happens if my brake fluid cap is loose?
A loose cap can allow air and moisture to enter the brake fluid reservoir, leading to contamination and reduced braking performance. Always make sure your cap is secure.
Can a damaged brake fluid cap cause brake failure?
Indirectly, yes. A damaged cap can allow contaminants to enter the brake fluid, which may degrade its effectiveness and lead to brake fade or failure over time.
Is it safe to drive with a missing brake fluid cap?
No, driving without a brake fluid cap is not recommended, as it can expose the brake fluid to contaminants and reduce system pressure, potentially compromising brake performance.
Conclusion
Although often overlooked, the brake fluid cap is a critical component in preserving the quality and functionality of your braking system. By preventing contaminants from entering the brake fluid and maintaining optimal system pressure, a good brake fluid cap ensures that your brakes perform reliably.
If you notice any signs of a faulty cap, replace it promptly to avoid compromising your vehicle’s safety. Taking a few minutes to check and, if necessary, replace your brake fluid cap is a simple step that can make a significant difference in maintaining your braking system’s efficiency and longevity.