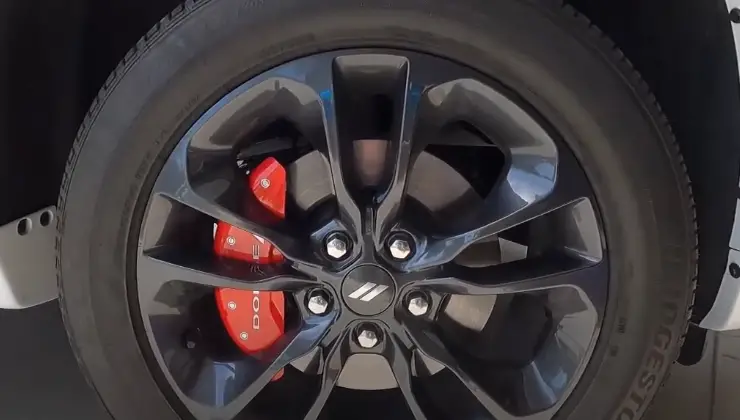
Caliper covers are an excellent way to give the car a custom look without breaking the bank. They are easy to install and come in a wide variety of colors and designs. However, many car owners are hesitant to install them because they think they need to remove the wheels to do it. The good news is that you don’t have to! In this article, we will show how to install caliper covers without removing wheel.
Contents
What are Caliper Covers?
Caliper covers are aftermarket accessories that fit over the car’s brake calipers. They are made of high-quality materials like stainless steel and aluminum and come in a range of colors and designs. They are an easy way to add some personal style to the car without spending a lot of money.
Why Install Caliper Covers?
Caliper covers serve two purposes: they improve the look of the car’s brakes and protect them from dust and debris. They can also help reduce brake dust buildup, making cleaning the wheels a breeze. Installing caliper covers is a simple DIY project that can be done in the afternoon, and it’s a great way to give the car a custom look.
How to Install Caliper Covers Without Removing Wheel
Installing caliper covers is a quick and easy way to add a pop of color or personalization to the vehicle’s brakes. In this comprehensive guide, we’ll show you how to install caliper covers in a few simple steps.
Needed Tools
Before we dive into the steps, let’s go over the tools and materials you’ll need:
- Caliper covers (make sure they’re the right size for the car)
- Brake cleaner
- Adhesive (some caliper covers come with adhesive pre-applied)
- Scissors
- Screwdriver
- Masking tape
- Rag or towel
Step-by-Step Guide to Install Caliper Covers
Now that you have everything you need, let’s get started:
Step 1. Clean the caliper: Before installing the caliper covers, it’s essential to clean the caliper. Use brake cleaner and a rag to wipe down the caliper thoroughly. This step will ensure that the adhesive will stick properly.
Step 2. Test-fit the caliper cover: Before applying any adhesive, place the caliper cover over the caliper to make sure it fits correctly. If it’s too big, you may need to trim it with scissors. If it’s too small, you may need to order a different size.
Step 3. Apply adhesive: If the caliper cover comes with adhesive pre-applied, skip this step. Otherwise, apply adhesive to the back of the caliper cover. Be careful not to apply too much, as it can make a mess.
Step 4. Position the caliper cover: With the adhesive applied, it’s time to position the caliper cover. Use masking tape to hold it in place while you work on the other side.
Step 5. Repeat on the other side: Once you’ve installed the caliper cover on one side, repeat steps 1-4 on the other side.
Step 6. Let it dry: After installing the caliper covers, let them dry for at least 24 hours. This step will ensure that the adhesive has fully bonded to the caliper.
Step 7. Enjoy the new look: Congratulations! You’ve successfully installed the caliper covers without removing the wheel. Now, sit back and enjoy the new look of the car’s brakes.
Conclusion
Installing caliper covers is a quick and easy way to upgrade the look of the car’s brake. If you don’t know how to install caliper covers without removing wheel, by following the simple steps outlined in this guide, you can have the caliper covers installed in no time.
Remember to choose the right size cover, clean the calipers thoroughly, and use adhesive tape to hold the cover in place while you secure it with screws. With proper care and maintenance, the caliper covers can last for years, adding a customized touch to the vehicle’s overall appearance.
