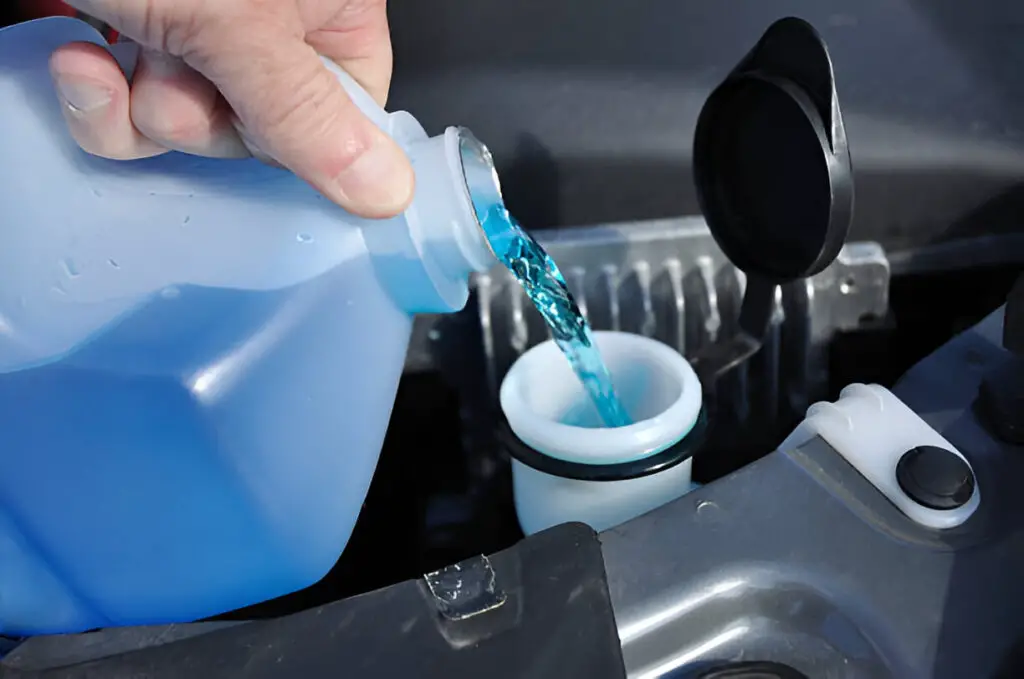
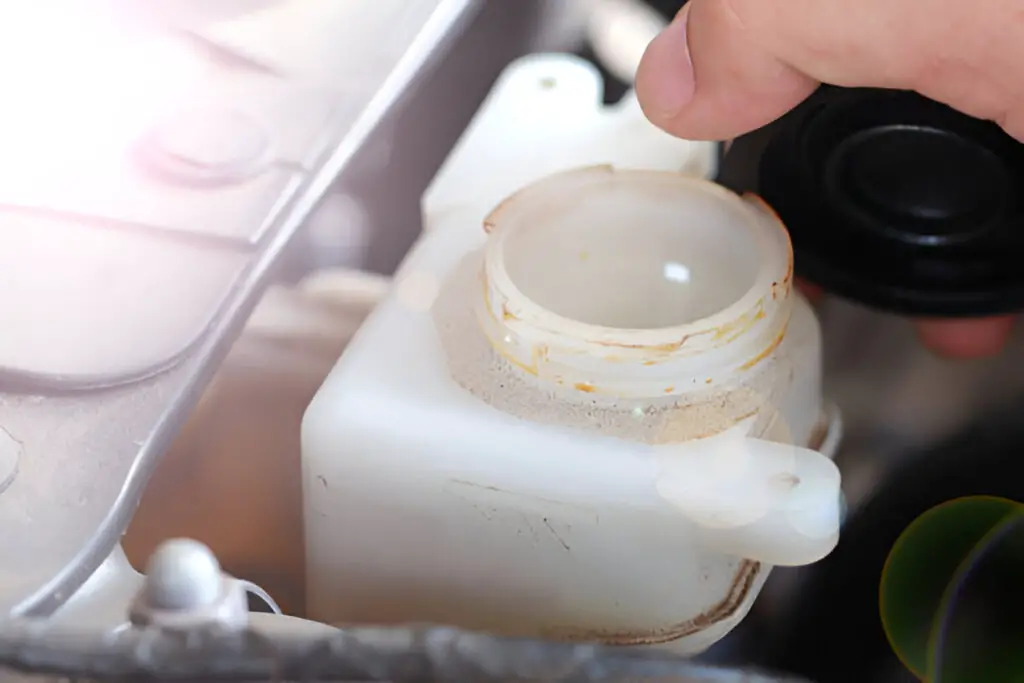
Replacing a windshield wiper fluid container is essential when it becomes cracked or damaged, leading to fluid leaks or a malfunctioning wiper system. The process involves locating and removing the old container, installing a new one, and reconnecting hoses and electrical components.
Maintaining the proper functioning of a car is essential to ensure a safe driving experience. Among the less talked about, but equally important components, is the windshield wiper fluid container. This part stores the wiper fluid, which is essential for cleaning the windshield to maintain clear visibility, especially in adverse weather conditions.
Over time, the windshield wiper fluid container may suffer from wear and tear, cracks, or leaks that can compromise its effectiveness. If your windshield wiper fluid container is damaged, it may lead to issues such as fluid leakage or complete failure to provide cleaning fluid to the windshield.
This blog post will guide you through the process of replacing a windshield wiper fluid container, covering the necessary steps, tools, and precautions to ensure a smooth replacement. Whether you are a DIY enthusiast or a first-time car owner, this guide is designed to help you tackle this task with confidence.

Contents
- 1 How to Tell Windshield Wiper Fluid Container Needs Replacement
- 2 Windshield Wiper Fluid Container Replacement
- 2.1 Replacing the Windshield Wiper Fluid Container
- 2.1.1 Step 1: Safety First
- 2.1.2 Step 2: Locate the Windshield Wiper Fluid Container
- 2.1.3 Step 3: Drain the Fluid
- 2.1.4 Step 4: Remove the Old Windshield Wiper Fluid Container
- 2.1.5 Step 5: Install the New Container
- 2.1.6 Step 6: Reconnect the Hoses and Electrical Connections
- 2.1.7 Step 7: Test the System
- 2.1.8 Step 8: Reassemble the Vehicle
- 2.1 Replacing the Windshield Wiper Fluid Container
- 3 Tips for Maintaining Windshield Wiper Fluid Container
- 4 Frequently Asked Questions
- 5 Conclusion
How to Tell Windshield Wiper Fluid Container Needs Replacement
The windshield wiper fluid container is usually made from plastic and is designed to be durable, but like all car components, it has a limited lifespan. Here are a few common signs that it might be time to replace the container:
Fluid Leakage
If you notice fluid leaking from under your car, especially when parked, this is a clear indication that there’s a crack or puncture in the container. Typically, wiper fluid is either blue or green, making it easy to identify.
Low Fluid Level Warning Light
Modern cars are equipped with a low fluid warning light that will come on if the wiper fluid is low. If you keep refilling the container and the warning persists, this could indicate a leak in the reservoir.
Visible Cracks or Damage
During routine maintenance, you may spot cracks or damage in the container. This could be caused by age, weather conditions, or accidental impact during engine repairs.
Wiper Fluid Doesn’t Spray Properly
If you notice that the fluid is not coming out when you activate the wipers, it could be due to a damaged container. Sometimes the pump might function correctly, but a crack in the reservoir prevents fluid from being delivered.
Windshield Wiper Fluid Container Replacement
Before diving into the replacement process, it’s essential to gather the necessary tools to ensure a smooth operation. Here’s what you’ll need:
- New windshield wiper fluid container (compatible with your vehicle model)
- Socket wrench set
- Screwdrivers (flathead and Phillips)
- Pliers
- Jack and jack stands (if needed for vehicle access)
- Drain pan (to catch any remaining fluid in the old container)
- Replacement hoses or clamps (if the existing ones are damaged)
- Plastic rivet removal tool (optional, depending on vehicle make)
With these tools ready, you can proceed with the replacement process.
Replacing the Windshield Wiper Fluid Container
The steps may vary slightly depending on your vehicle make and model, but the general process remains the same. Follow the steps below –
Step 1: Safety First
Before starting any work, ensure the car is parked on a flat surface and the engine is off. Disconnect the negative terminal from the battery to avoid any electrical issues while working on the car.
Step 2: Locate the Windshield Wiper Fluid Container
The windshield wiper fluid container is typically located under the hood near the windshield, but the exact position varies depending on your vehicle. In some cars, it may be necessary to remove parts of the inner fender or bumper to access the reservoir.
Step 3: Drain the Fluid
Before removing the old container, place a drain pan underneath it to catch any remaining wiper fluid. You can manually drain it by removing the hoses connected to the reservoir. Make sure to dispose of the used fluid properly according to local regulations.
Step 4: Remove the Old Windshield Wiper Fluid Container
Start by disconnecting the electrical connections that power the pump and the sensors (if applicable). Then, use your socket wrench to remove the bolts securing the reservoir in place. Depending on your vehicle, you may also need to remove surrounding components, such as the fender lining or other nearby accessories, to access the container.
Once the bolts are removed, gently pull the container out. Take care not to damage any of the hoses attached to it.
Step 5: Install the New Container
Now that the old container is out, compare it with the new one to ensure it’s the correct replacement. If the new container comes with a pump, attach the hoses and electrical connectors to the new reservoir. If it doesn’t, you’ll need to transfer the pump and sensors from the old reservoir.
Slide the new container into position, aligning it with the mounting points. Use the socket wrench to secure it in place with the bolts you removed earlier.
Step 6: Reconnect the Hoses and Electrical Connections
Reconnect all hoses to the appropriate nozzles on the new container and make sure they are securely fastened. Attach the electrical connectors to the pump and sensor, ensuring they are properly connected.
Step 7: Test the System
Before reassembling everything, fill the new reservoir with windshield wiper fluid. Turn the car’s ignition to the “ON” position and activate the windshield wipers to test if the fluid sprays correctly. Check for any leaks around the container or hoses.
Step 8: Reassemble the Vehicle
If you had to remove parts like the fender lining or bumper, reattach them at this stage. Once everything is secured, reconnect the battery’s negative terminal, and you’re ready to hit the road.

Tips for Maintaining Windshield Wiper Fluid Container
It’s important to maintain it properly to prevent future damage. Here are some tips:
Use the Right Fluid: Always use the appropriate windshield wiper fluid for your vehicle. Avoid filling the container with water, especially in cold climates, as it can freeze and crack the container.
Inspect Regularly: During routine maintenance, check the condition of your windshield wiper fluid container and hoses. Look for signs of cracks, leaks, or disconnections.
Keep it Clean: Ensure that dirt or debris doesn’t enter the container when refilling it. Contaminants can clog the nozzles or damage the pump.
Frequently Asked Questions
Here are some FAQs about replacing the windshield wiper fluid container –
1. How long does a windshield wiper fluid container last?
A windshield wiper fluid container typically lasts the lifetime of the vehicle. However, exposure to extreme temperatures, physical damage, or poor-quality fluid can cause it to degrade over time.
2. Can I drive with a cracked windshield wiper fluid container?
Technically, you can drive with a cracked container, but it’s not recommended. Without functioning windshield wiper fluid, your visibility can be compromised in bad weather or when your windshield becomes dirty.
3. Is it expensive to replace a windshield wiper fluid container?
The cost of replacing a windshield wiper fluid container can vary. The part itself is generally inexpensive, ranging from $20 to $80, depending on the make and model of your car. Labor costs at a shop could range from $50 to $150.
4. What should I do if my windshield wiper fluid doesn’t spray after replacing the container?
If the fluid isn’t spraying after the replacement, check for disconnected hoses, blocked nozzles, or electrical issues with the pump. Ensure that the fluid level is adequate and that all connections are properly secured.
5. Can I use regular water instead of windshield wiper fluid?
It’s not recommended to use regular water, especially in colder climates, as it can freeze and damage the reservoir, pump, or hoses. Windshield wiper fluid contains additives that prevent freezing and help clean the windshield effectively.
Conclusion
Replacing a windshield wiper fluid container is a straightforward task that can significantly improve your car’s functionality and safety. By following the steps outlined in this guide, you can confidently replace the reservoir and ensure your vehicle’s windshield wiper system operates smoothly. Remember to regularly maintain your car’s fluid systems to prevent unnecessary repairs in the future.