A brake rotor minimum thickness chart specifies the minimum allowable thickness for brake rotors, ensuring safe and effective braking. As rotors wear down over time due to friction, measuring their thickness and comparing it to the chart helps determine when replacement is necessary.
Brake rotors (also known as brake discs) play a crucial role in a vehicle’s braking system. They work in conjunction with the brake pads and calipers to slow down or stop the vehicle by creating friction. Over time, this friction wears down the rotors, making it essential to monitor their thickness. If a rotor becomes too thin, it compromises braking performance and safety, increasing the risk of failure. This is where the brake rotor minimum thickness chart comes into play.
In this blog post, we will explore the importance of understanding the brake rotor minimum thickness, how to measure it, and how to use a brake rotor minimum thickness chart effectively.

Contents
What is Rotor Thickness?
Brake rotor thickness refers to the distance between the two flat surfaces of the rotor where the brake pads make contact. It is measured in millimeters or inches, depending on your location or the vehicle manufacturer. As the brake pads clamp down on the rotor, they generate friction that gradually wears down the rotor material, reducing its thickness.
Why Is Minimum Rotor Thickness Important?
Brake rotors must maintain a certain minimum thickness to function properly. When a rotor becomes too thin, it may not dissipate heat effectively, leading to:
- Overheating: Thin rotors heat up more quickly, increasing the risk of brake fade, where braking performance drops due to excessive heat.
- Warping: Heat can cause thin rotors to warp, leading to uneven braking or vibrations.
- Cracking: Extremely worn rotors may crack under the pressure of hard braking, posing a serious safety risk.
For these reasons, manufacturers specify a minimum rotor thickness, below which the rotor should be replaced. Driving with rotors that are thinner than the recommended minimum can compromise safety and damage other brake components.
How to Measure Brake Rotor Thickness
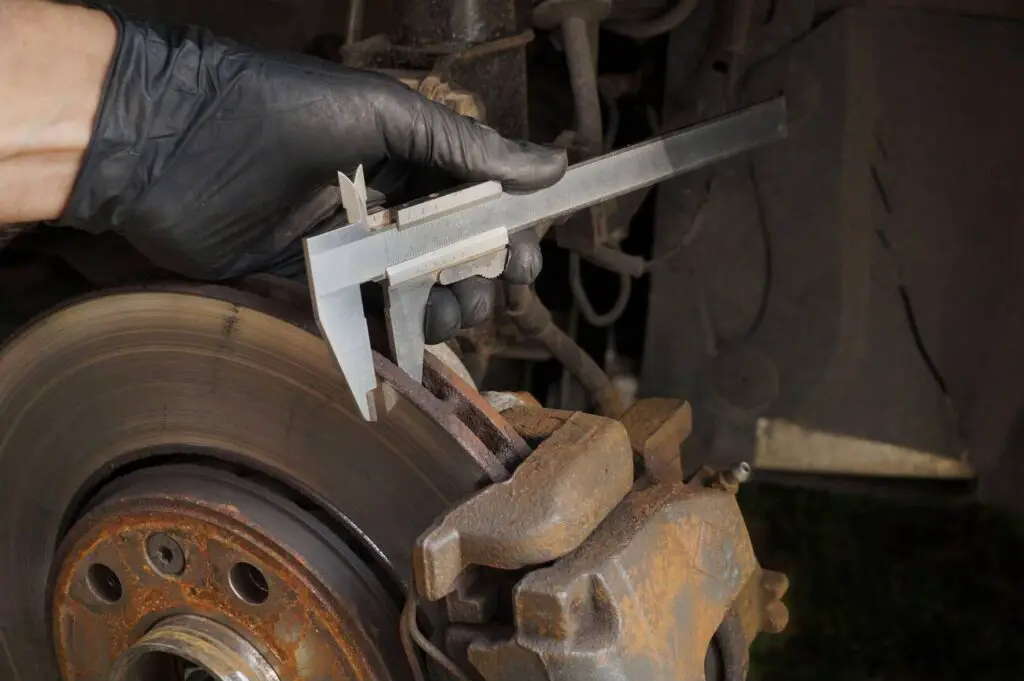
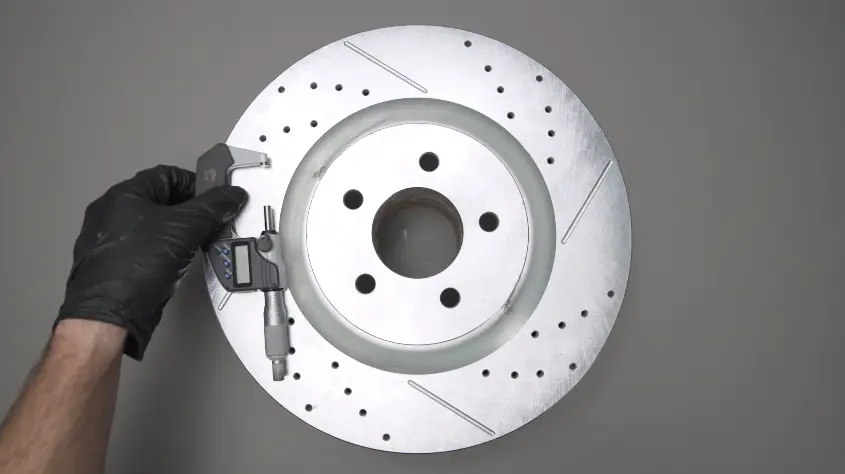
To determine whether your brake rotors need replacement, you need to measure their thickness. This can be done using a micrometer or brake rotor gauge. Here’s how:
- Remove the Wheel: To access the rotor, you’ll need to remove the wheel. Ensure the car is securely lifted and placed on jack stands.
- Clean the Rotor: Dirt or rust on the rotor can affect the accuracy of your measurements. Use a wire brush or brake cleaner to remove any debris.
- Measure the Rotor: Use a micrometer to measure the rotor’s thickness at several points around the circumference. Measure in different spots, as rotors often wear unevenly. Note the smallest measurement, as this will indicate the rotor’s thinnest point.
- Compare to Minimum Thickness: Check the rotor’s current thickness against the manufacturer’s minimum thickness specification, which can be found in the vehicle’s service manual or a brake rotor minimum thickness chart.
If the rotor is at or below the minimum thickness, it needs to be replaced. Even if it’s slightly above the minimum, it’s often best to replace the rotors if they’re close to the limit to avoid future issues.

How to Use a Brake Rotor Minimum Thickness Chart
A brake rotor minimum thickness chart provides the specified minimum thickness for various vehicle makes and models. This chart is critical for ensuring that you replace rotors before they become too worn to function safely.
Key Components of the Chart
A typical brake rotor minimum thickness chart includes:
- Vehicle Make/Model: The manufacturer and model of the vehicle.
- Rotor Type: Some vehicles may use different rotor types for the front and rear brakes.
- Original Thickness: The thickness of the rotor when new.
- Minimum Thickness: The minimum allowable thickness, below which the rotor should be replaced.
Here’s an example of a simplified brake rotor minimum thickness chart for different vehicles:
| Make/Model | Original Thickness (mm) | Minimum Thickness (mm) |
|---|---|---|
| Honda Accord (2018) | 28 mm | 26 mm |
| Ford F-150 (2020) | 34 mm | 31.5 mm |
| Toyota Camry (2019) | 25 mm | 22 mm |
| BMW 3 Series (2017) | 30 mm | 27.4 mm |
| Volkswagen Golf (2019) | 28 mm | 25 mm |
Steps to Use the Chart
To use a brake rotor minimum thickness chart:
- Identify the Vehicle: Start by locating your vehicle’s make and model on the chart.
- Determine Original Thickness: Check the original rotor thickness for reference.
- Compare with Measured Thickness: After measuring the rotor, compare your reading with the minimum thickness listed in the chart.
- Take Action: If your rotor’s thickness is equal to or less than the minimum thickness, replace it immediately. If it’s close to the limit, replacement is recommended soon.
Frequently Asked Questions
Here are FAQs about brake rotor thickness –
1. How do I know if my brake rotors need to be replaced?
If your rotors are below the minimum thickness, show signs of warping, have deep grooves, or cause vibrations when braking, they should be replaced. Always measure the rotor’s thickness and compare it to the manufacturer’s recommended minimum.
2. Can I drive with worn rotors?
Driving with worn rotors is unsafe. Thin rotors can lead to reduced braking performance, increased stopping distance, and even brake failure. Replace them as soon as they reach the minimum thickness or show signs of damage.
3. What happens if I don’t replace rotors below the minimum thickness?
If rotors are too thin, they may overheat, warp, or crack under pressure, compromising your ability to brake safely. This can result in brake fade, vibrations, or complete brake failure, leading to potential accidents.
4. Can I resurface my rotors instead of replacing them?
You can resurface rotors if they are still above the minimum thickness and have only minor wear or warping. However, resurfacing reduces the thickness of the rotor, so it’s only an option if the remaining thickness is sufficient.
5. How often should brake rotors be inspected?
It’s recommended to inspect brake rotors during routine brake pad replacement, typically every 20,000 to 60,000 miles depending on driving conditions and habits. Always measure the thickness to ensure it’s above the minimum specification.
Conclusion
Monitoring brake rotor thickness is essential for maintaining your vehicle’s safety and performance. The brake rotor minimum thickness chart helps ensure that rotors are replaced before they become too thin to function properly.
By regularly measuring rotor thickness and adhering to manufacturer specifications, you can avoid costly repairs and ensure safe driving. Whether it’s replacing worn rotors or resurfacing them, always prioritize the health of your braking system to keep you and others safe on the road.